Your DIY Deck Building Guide - Part 2
Your dream outdoor living project is close to becoming a reality. Following Part 1 of our series, you’ve got the right tools, picked a design, and laid out the deck area. There are only a few more steps in the DIY deck building process before all that sweat equity pays off. In part two of this DIY series, we’re going to cover the process for putting up deck posts, building the floor frame, and installing the composite decking boards.
Let’s dive right in with the decking building experts here at Envision Outdoor Living Products.
Tips for Installing Deck Posts
Move any deck layout strings out of the way and start digging the post holes. Once each hole is dug, it’s important that you double check the depth to make sure it falls in line with your deck plan. One of the most common ways to setting posts is pouring concrete into the post hole, inserting the post, and backfilling it with gravel.
Before you install the posts themselves, set the footers to be below the frost line. By situating them underneath the level water freezes in the ground, you lower the risk of the posts being pushed up over time. With the holes dug, lay out some landscape fabric and cut openings for the posts. Pour roughly 6 inches of gravel into the hole and pack it in with the post.
Next, you’ll need to:
- Use a concrete form that will help shape the concrete you mix when it’s poured into the post hole.
- Once the concrete has filled the hole, slide the deck post in and try your best to center it.
- Cover the rest of the landscape fabric with gravel. Then install the post bracket and attach the pressure plate. Now you’re ready to install the post on the bracket.
- When all the posts are in place, mark the top by following the height of the house. Then it’s time to cut all the posts to the correct height before moving forward.
A DIY Overview for Building Your Deck Frame
The first step to building a deck frame is attaching the ledger to the house. After you remove any trim in the way, mark the location of the top ledger with a chalk line. For every two feet of ledger length, you’ll need to insert a piece of treated wood that will act as a spacer. Make sure the ledger is aligned with the spacers and secure it to the wall with nails. Then you’re ready to drill holes through the ledger into the house frame and attach them with screws.
It’s best practice to protect the ledge by adhering a waterproof membrane. Fold the membrane lengthwise and apply it where the ledger and house meet. Next, you’ll want to apply metal flashing over the waterproof membrane for an extra layer of protection.
With all the deck posts in place, the next step is to attach support beams – also called a rim joist. Typically, these beams are 2x10s. Find the slight arch in the boards and make sure that arch is pointing up before securing them to your deck posts. Any joints on the rim joist need to be over a post to give the deck stability. As a rule, using doubled sided rim joists make the deck more secure. Start by fitting on side rim joist to the ledger and square the corner before driving in any nails or screws in. Repeat this process with the other side joist before working your way in.
Next, mark the spacing for the interior joists on all the rim joists you just installed. Make sure that this spacing follows local building codes. Now you’re ready to rest each rim joist on a support beam and transfer the spacing lines onto the front of each joist. Using joist hangers, attach the rim joists to the end joists and reinforce the connection with brackets.
Pick up the deck frame, position it on the support beams, make sure everything is level, and secure it. Install each of the floor joists and be sure to hang a line once you’re done to easily trim them all to length. Finally, you’re ready to close off the deck frame by attaching the other rim joist.
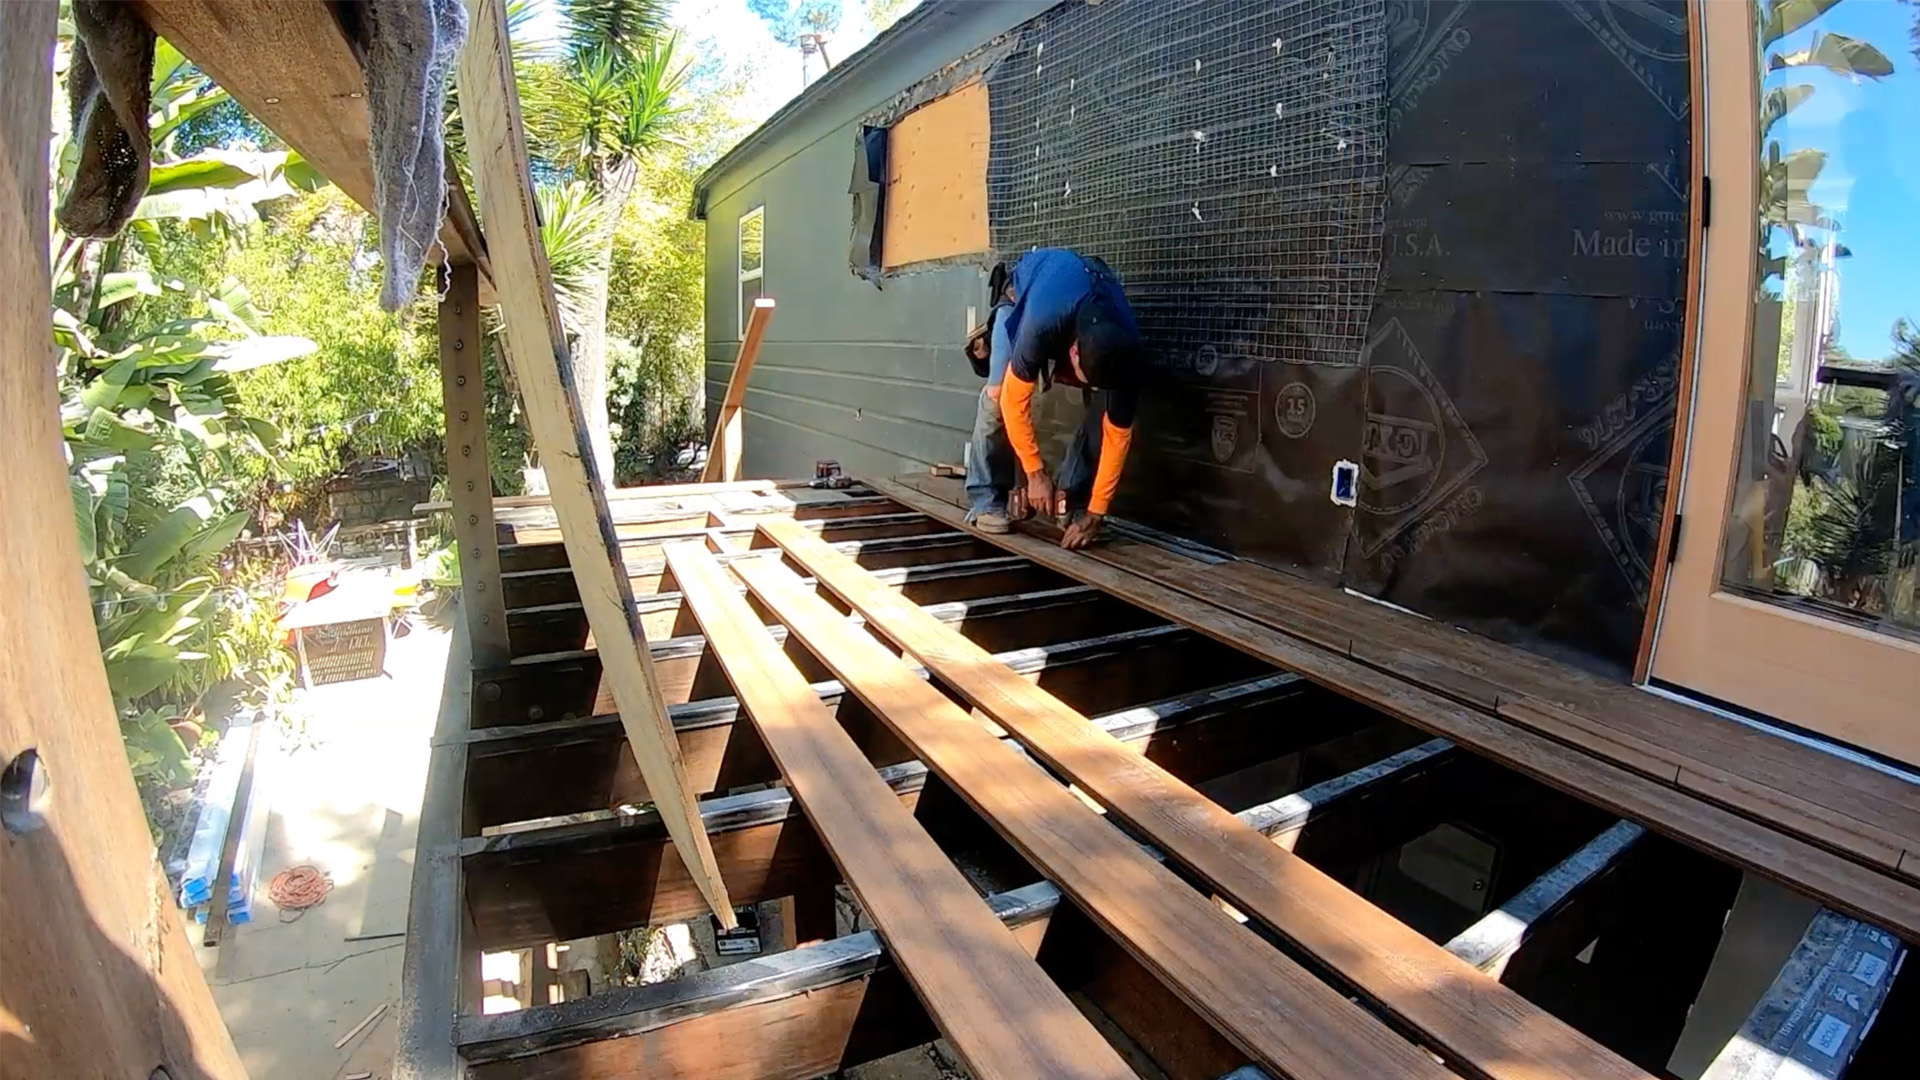
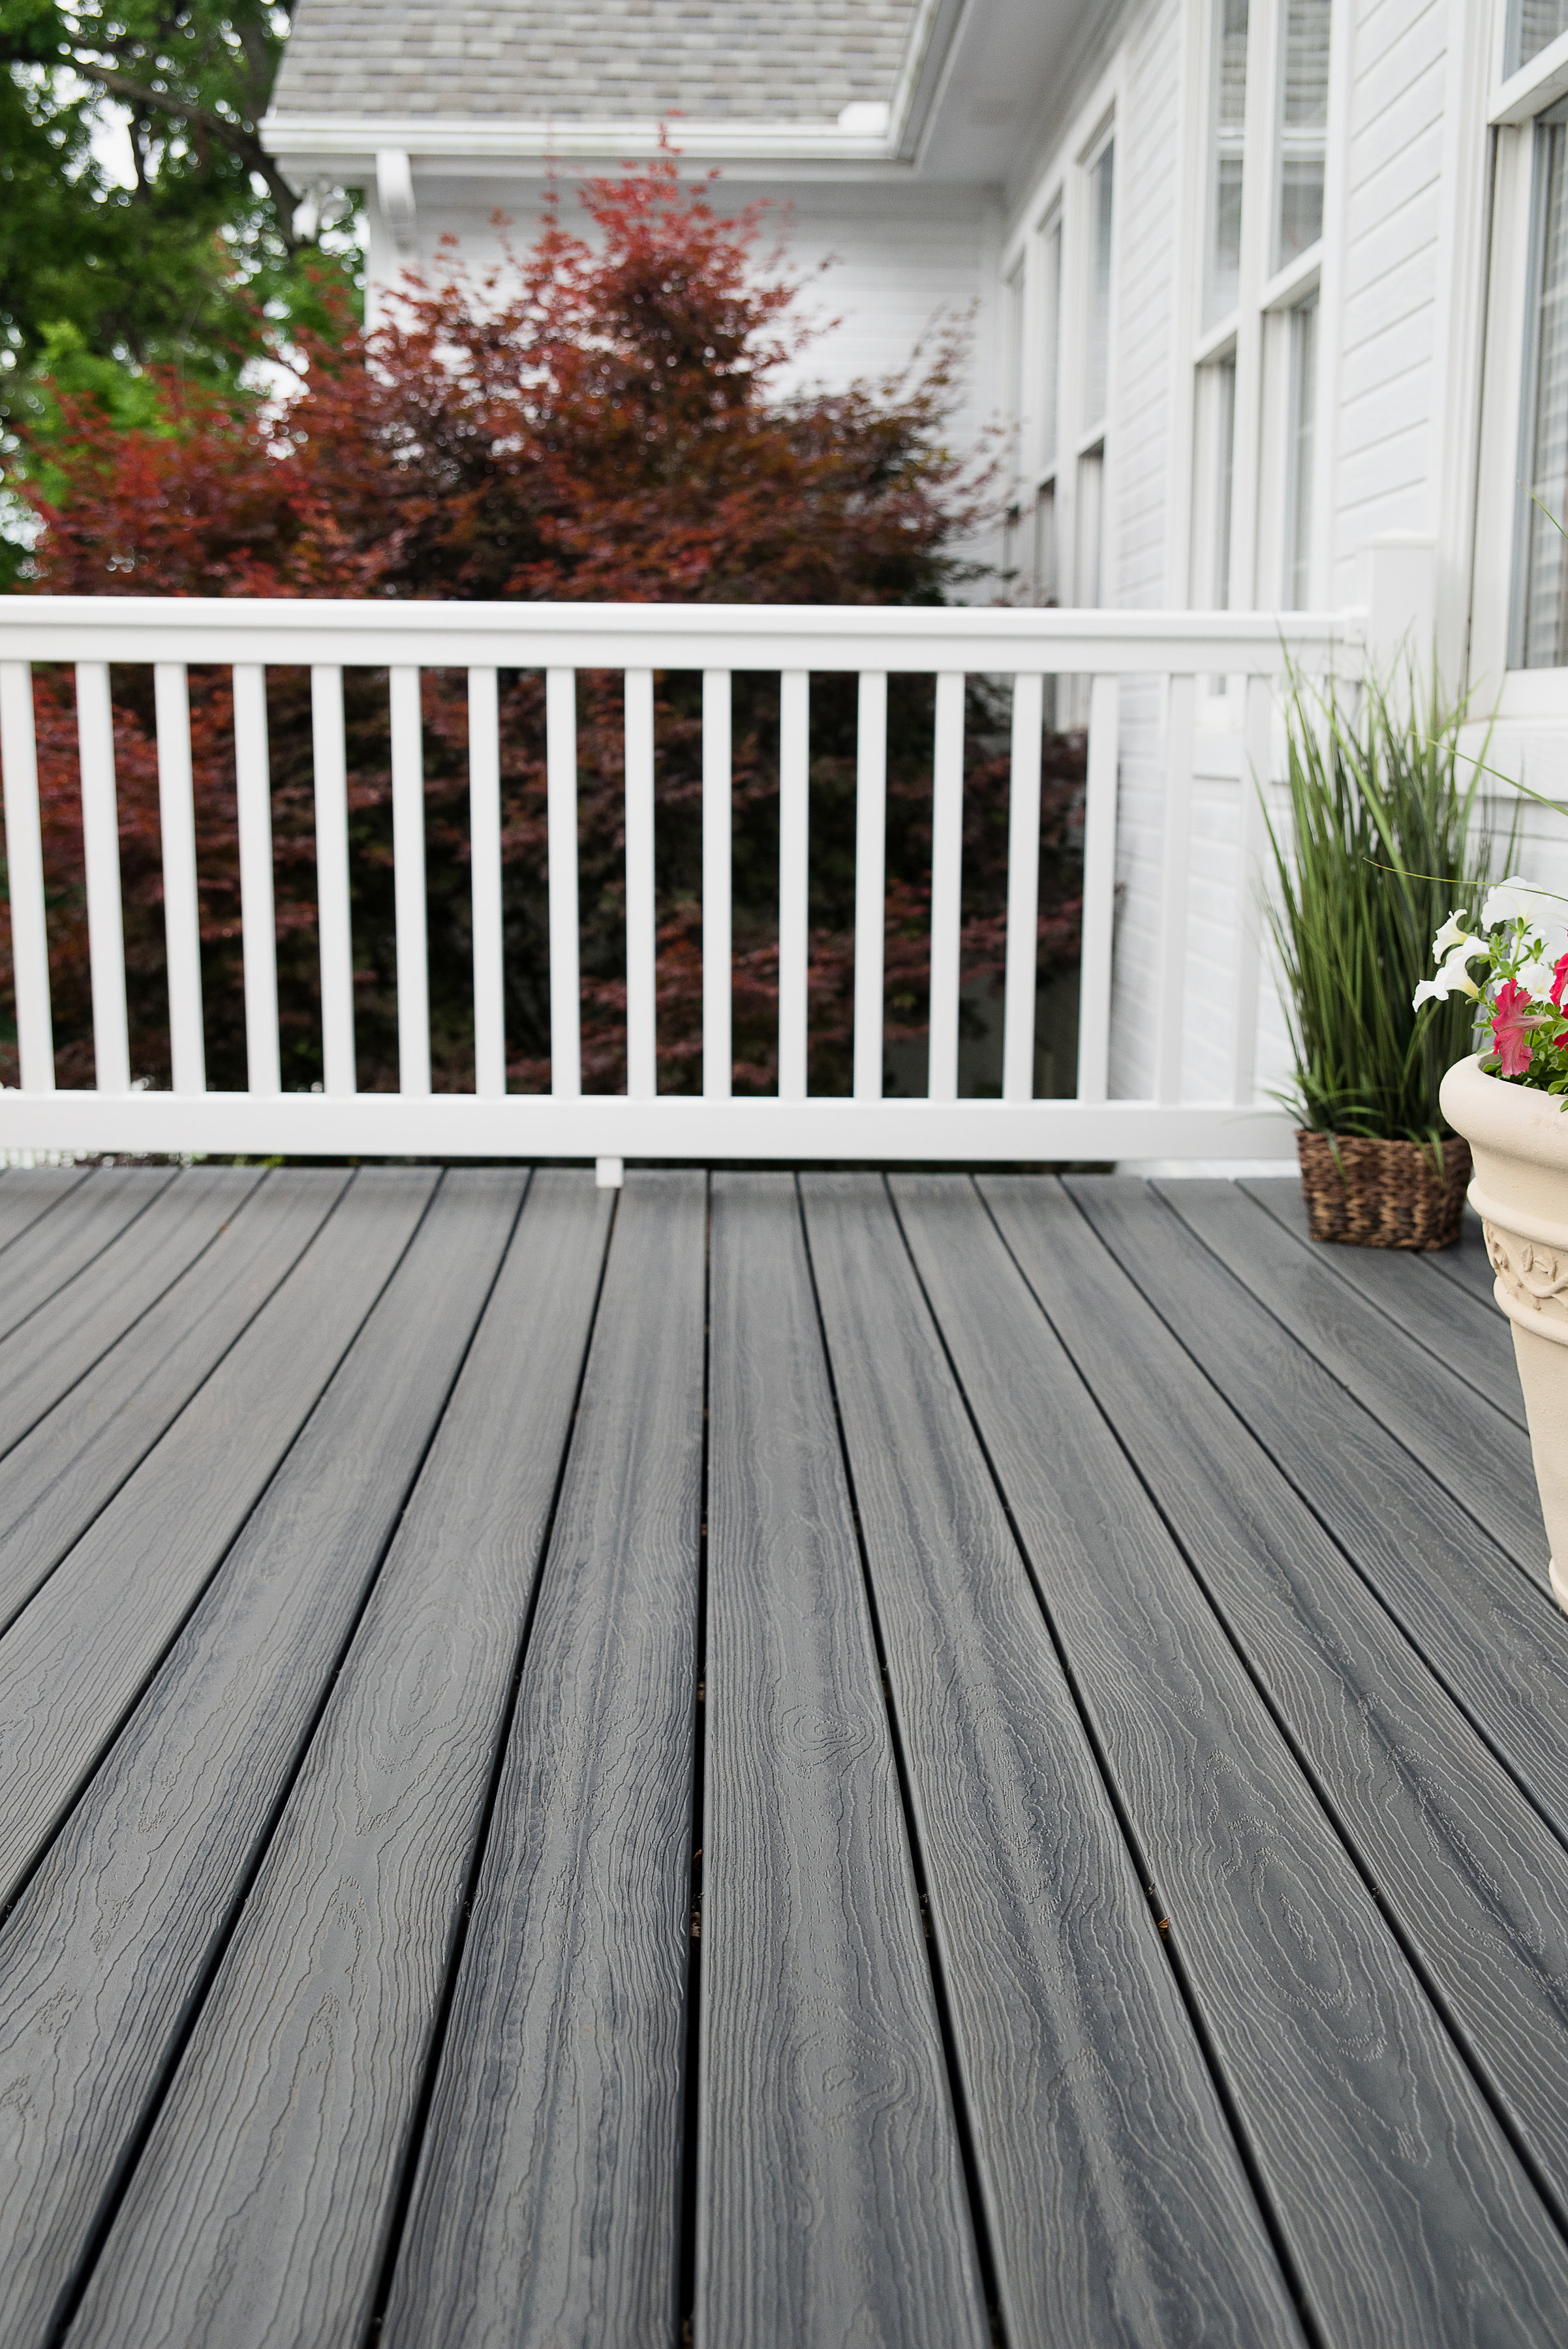
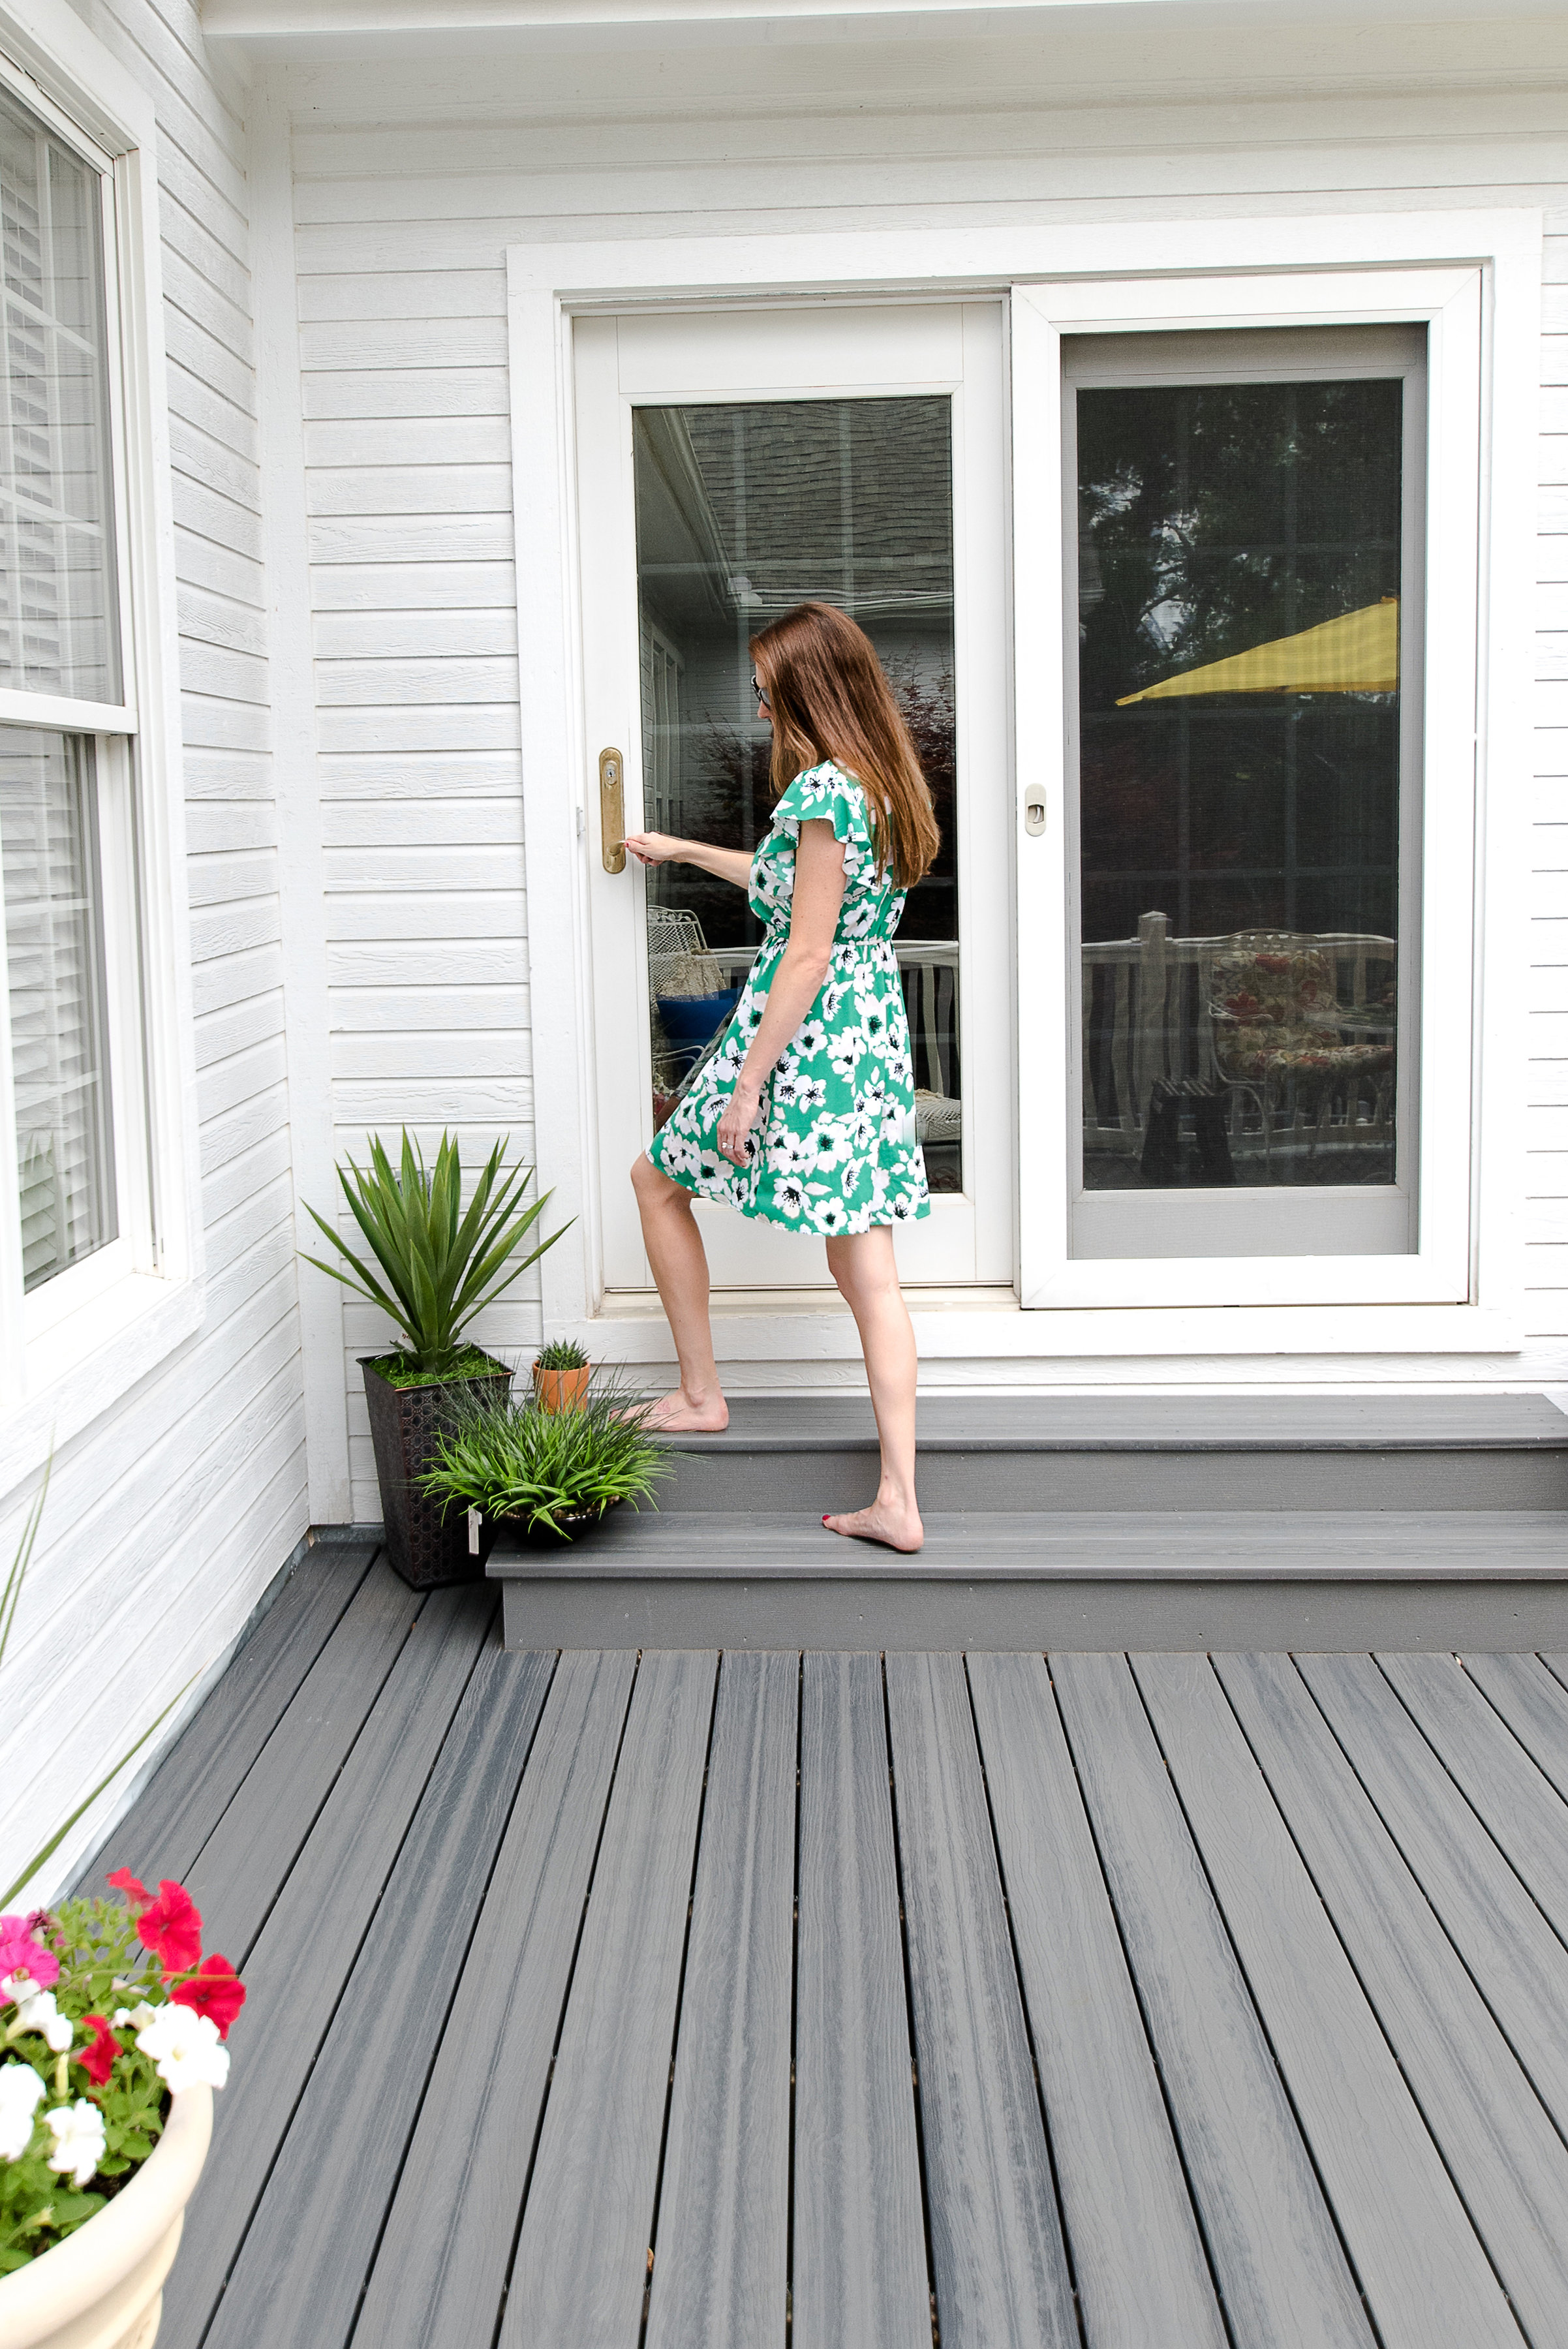
Install the Composite Deck Boards
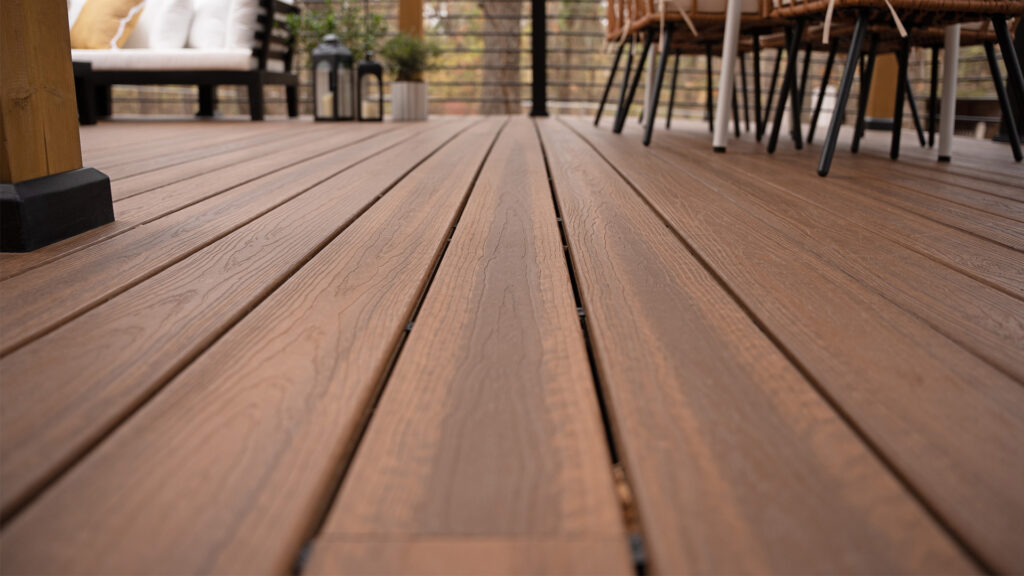
When you’re installing composite decking, the first board is crucial; it sets the stage for the rest of the installation process. Double check the overhanging guidelines from the board manufacturer, and line up the deck board on the edge of the deck.
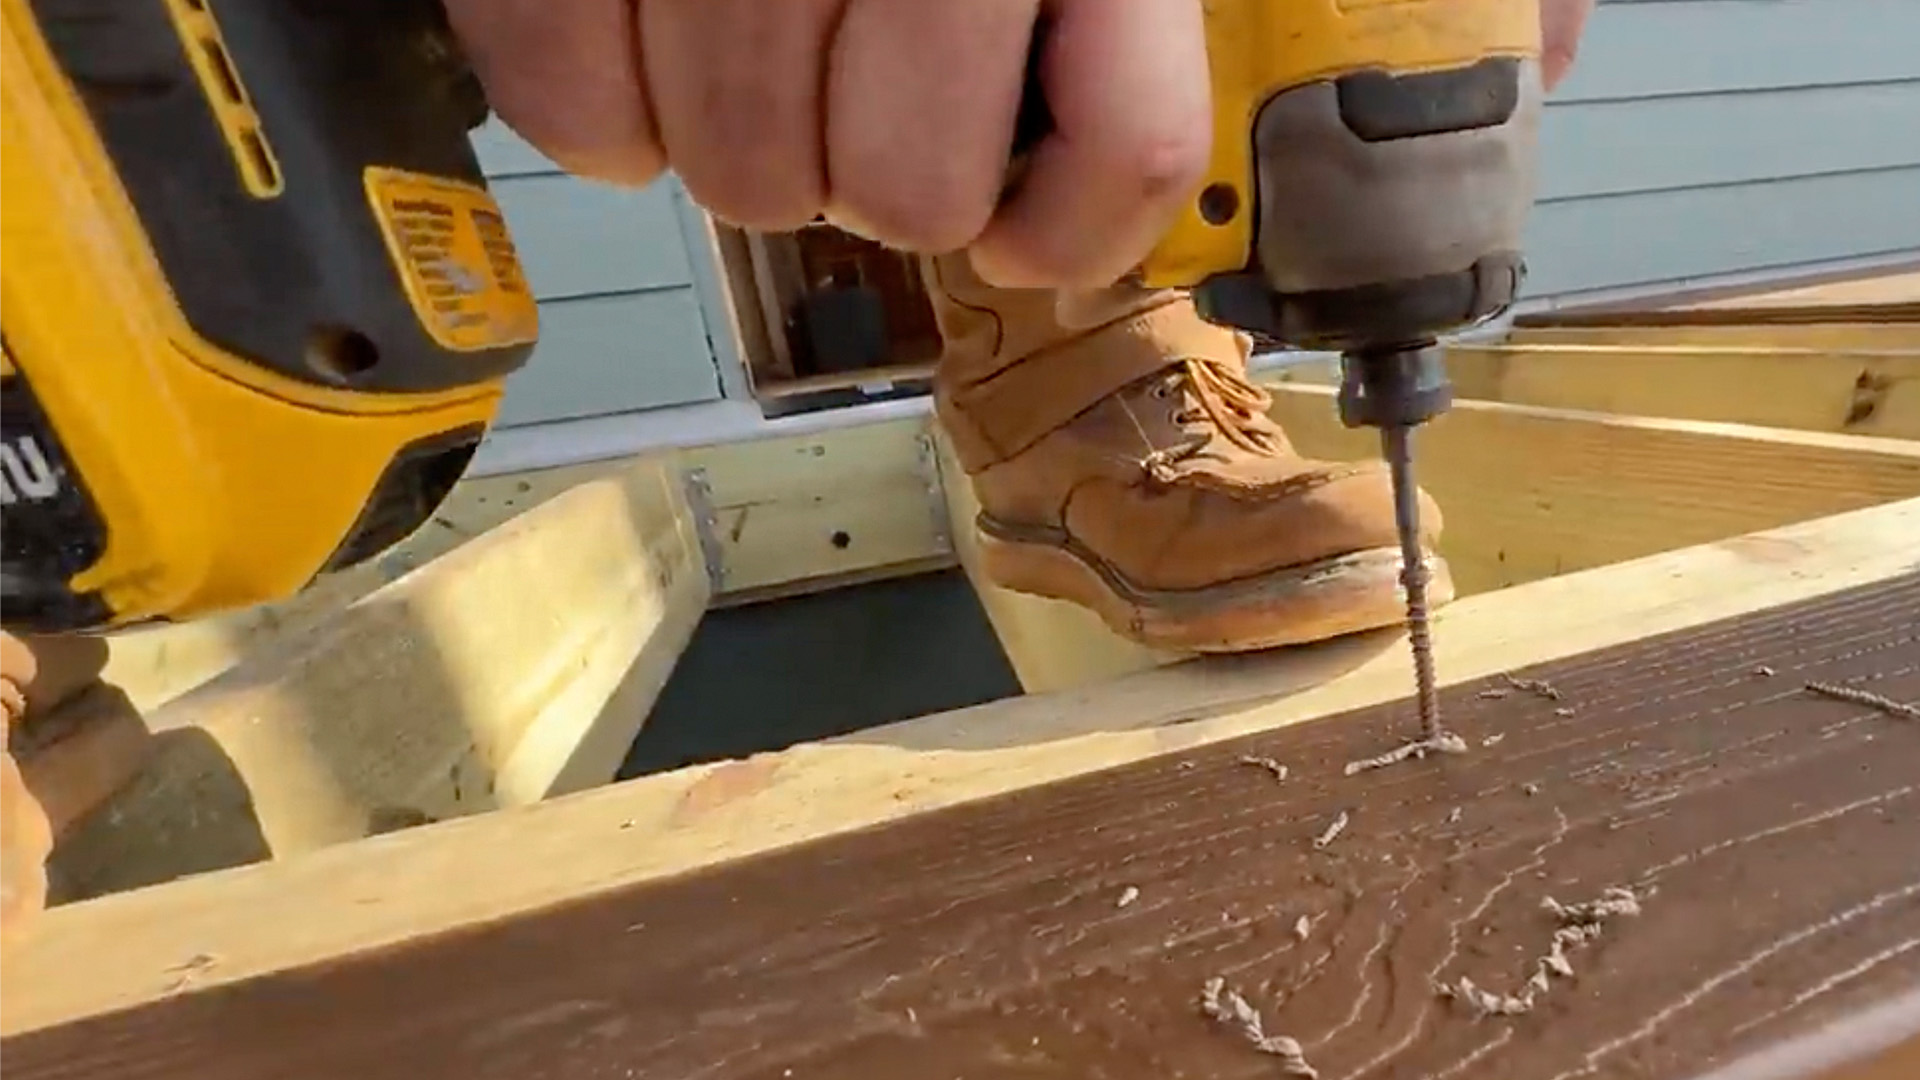
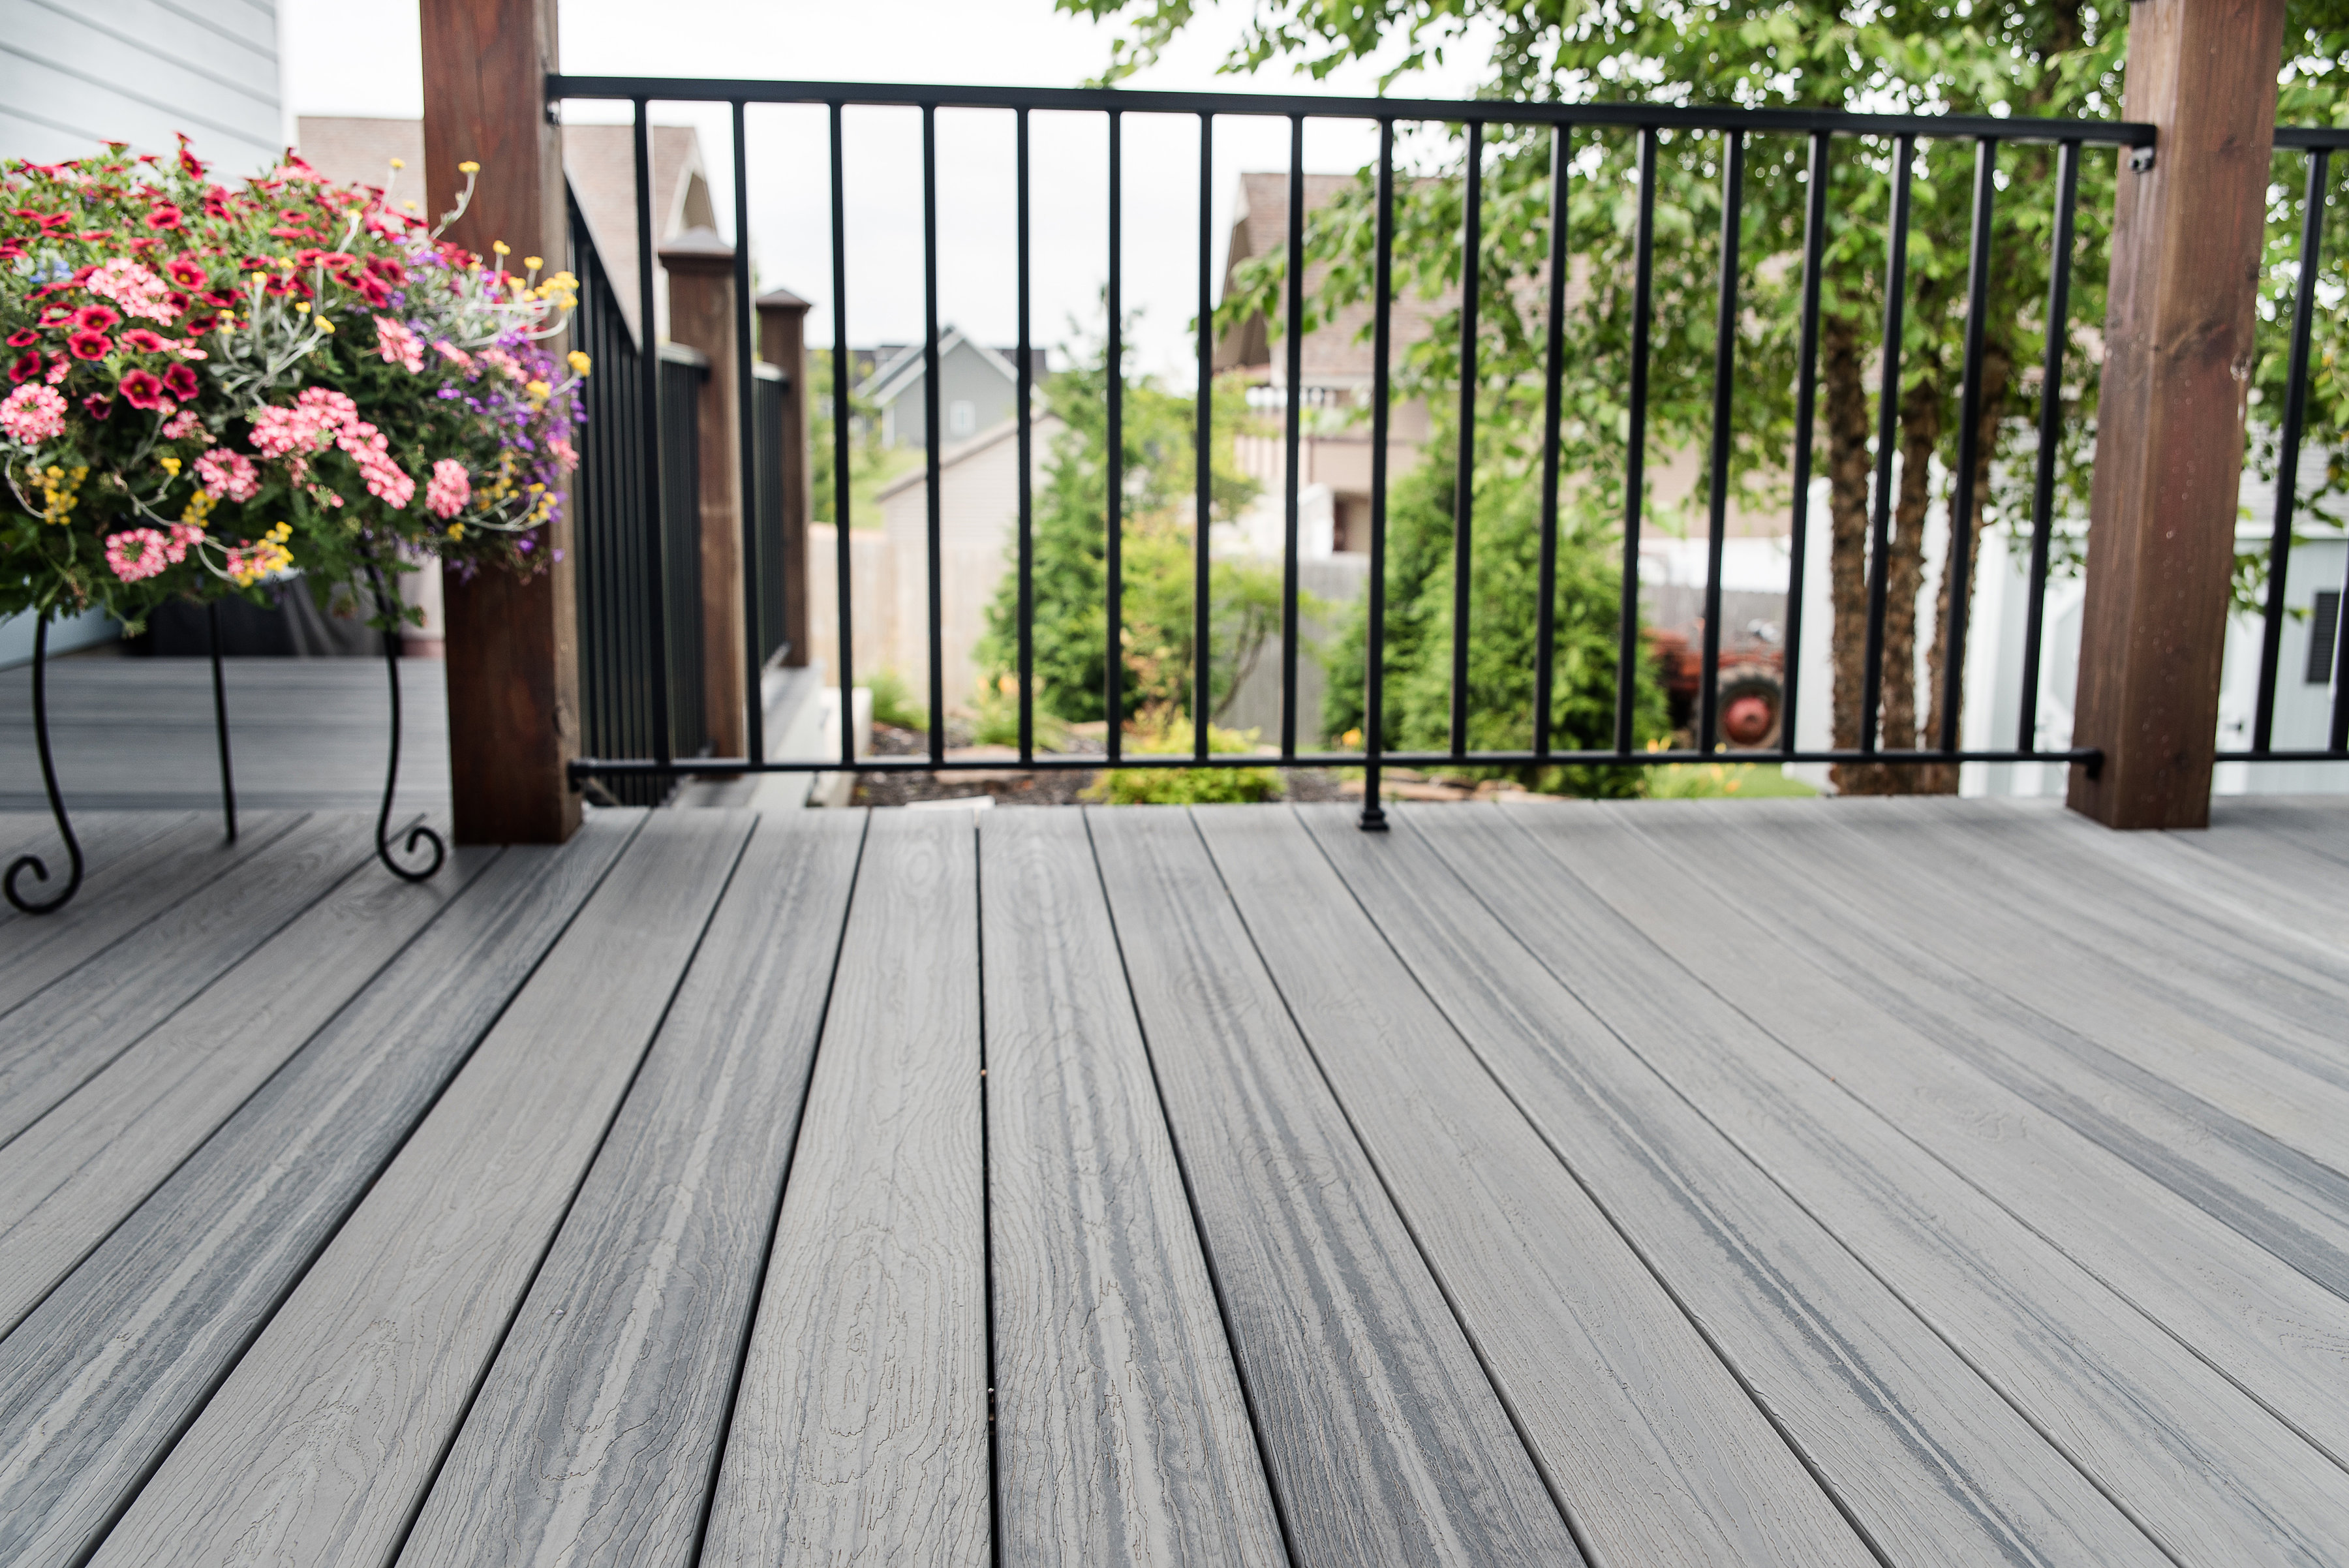
Before you start installing the other composite deck boards, take a minute to consider the board spacing for your deck. It’s common for many decking materials to expand or contract depending on the weather, so it’s recommended to leave at least a 1/8-inch space between each board, and proper spacing at the end of each board. Each fastener should be installed flush and perpendicular to the board surface. Always reference manufacturer installation instructions for proper board spacing requirements.
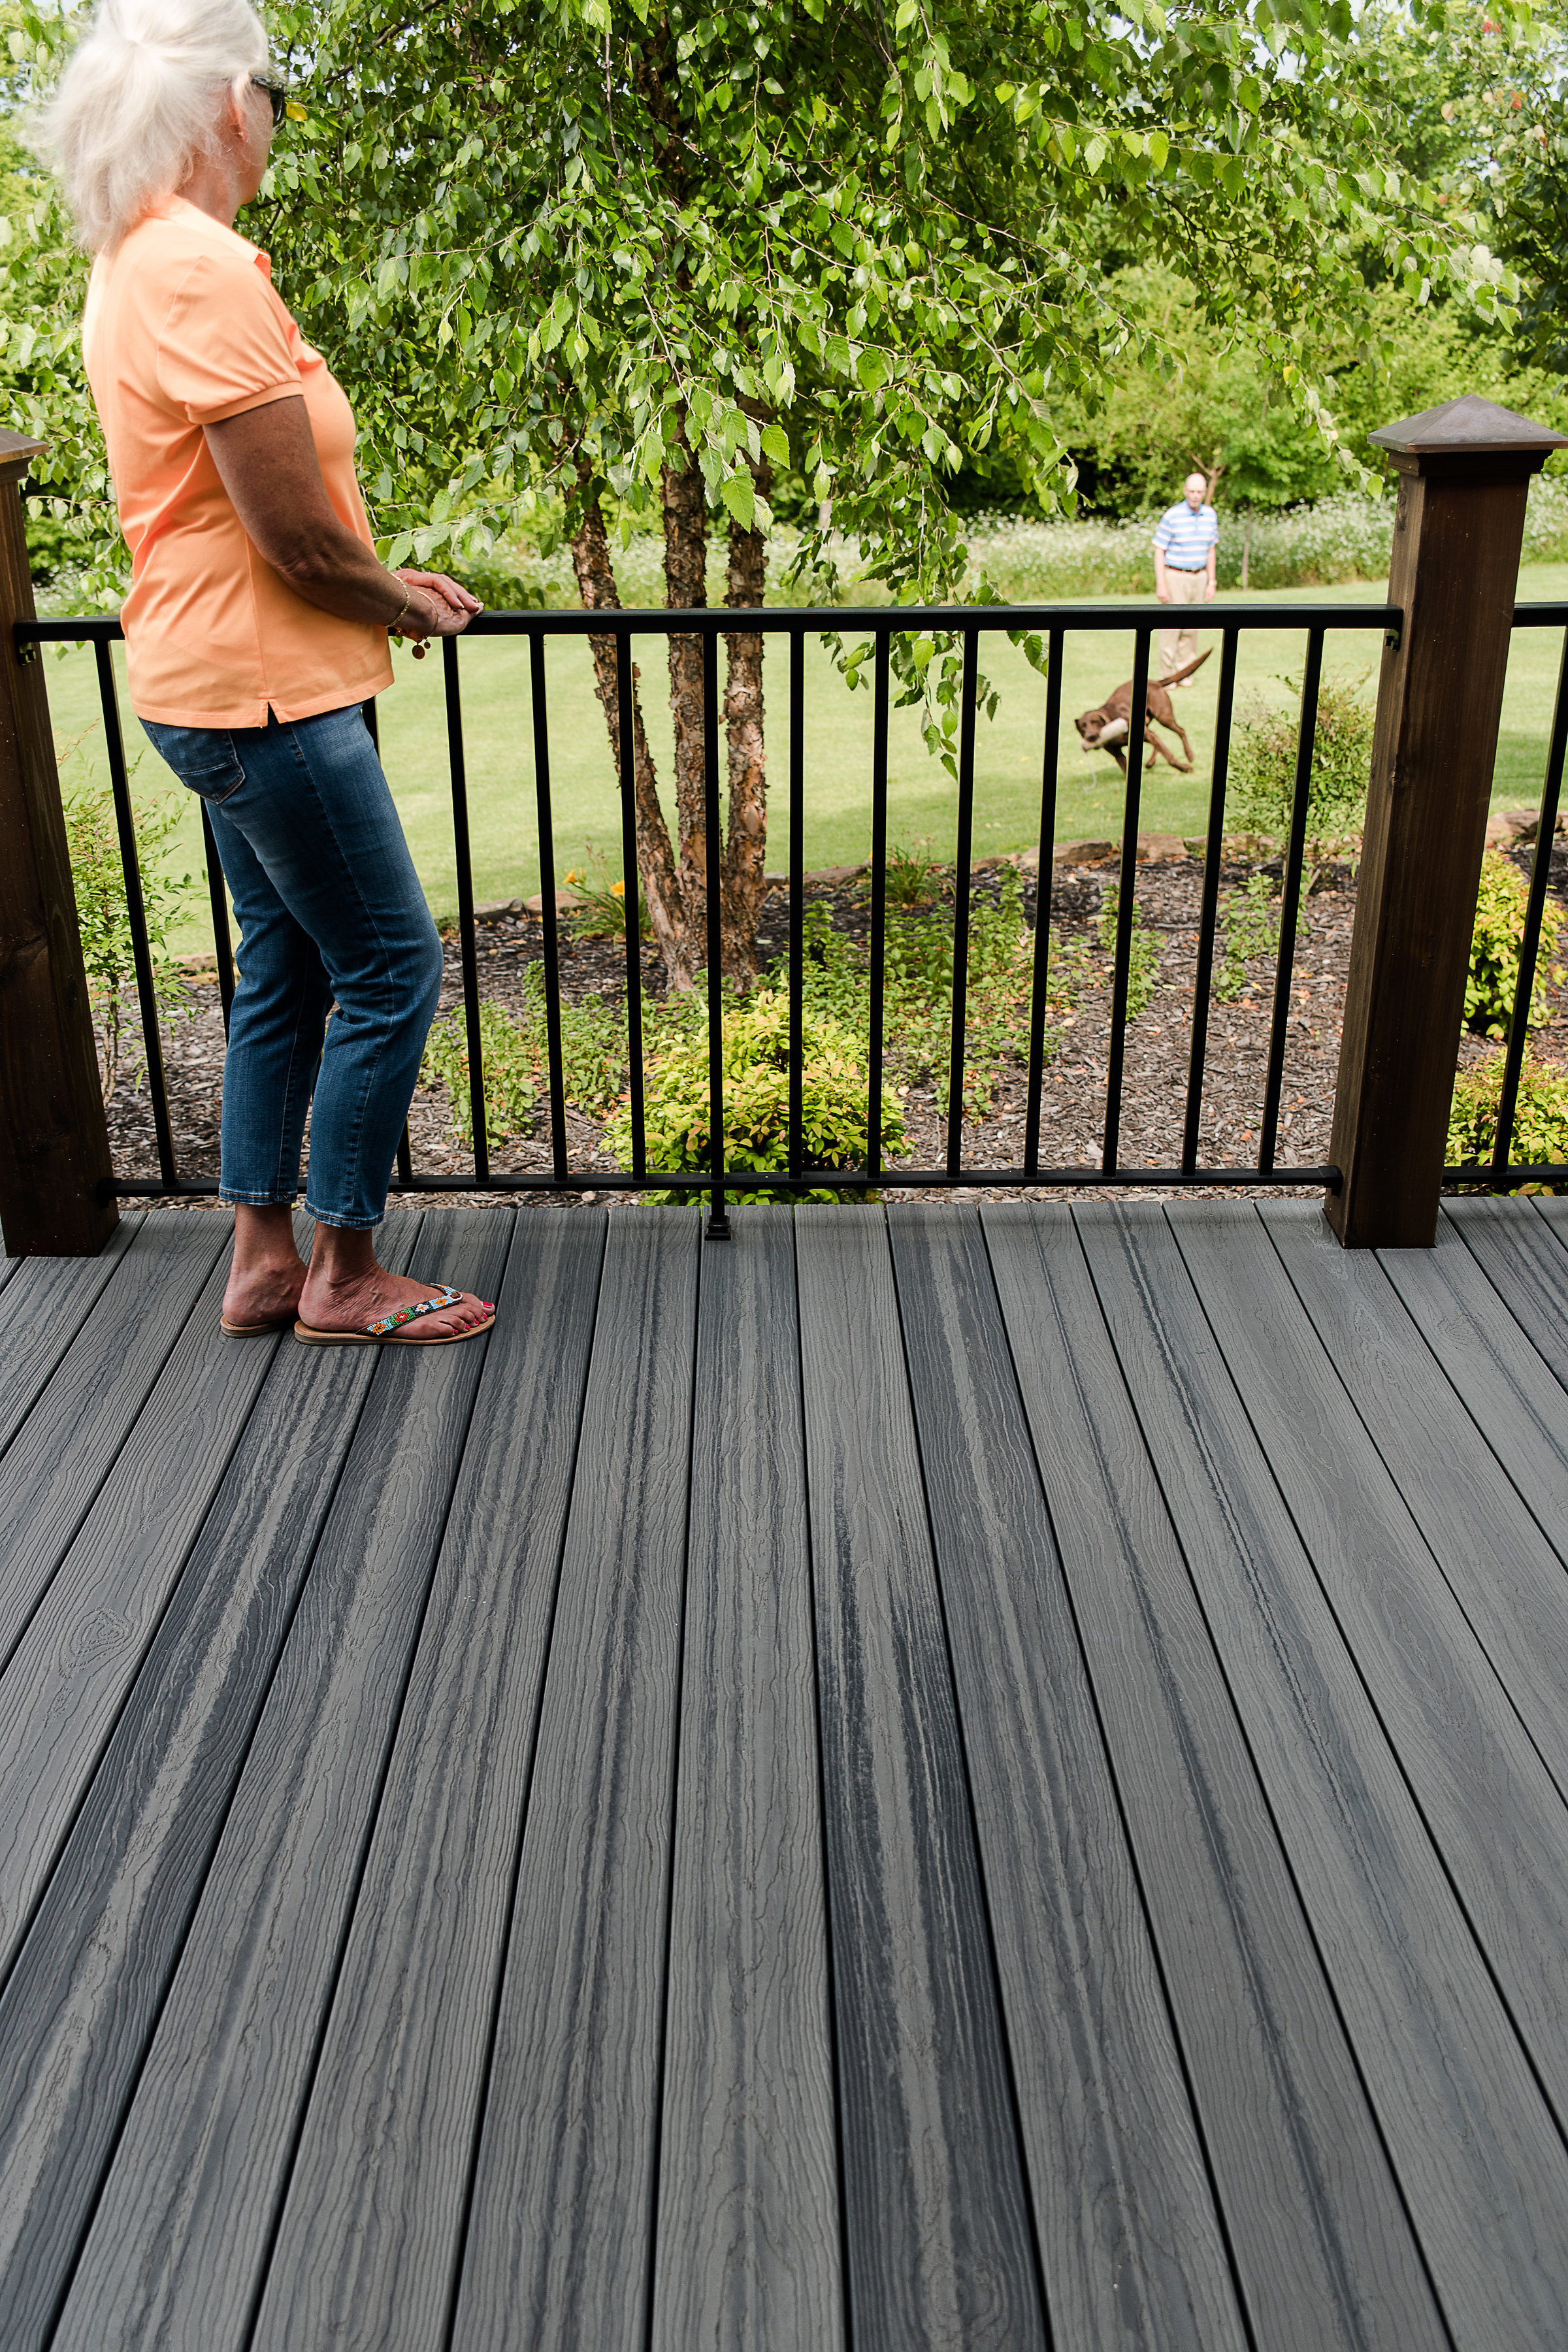
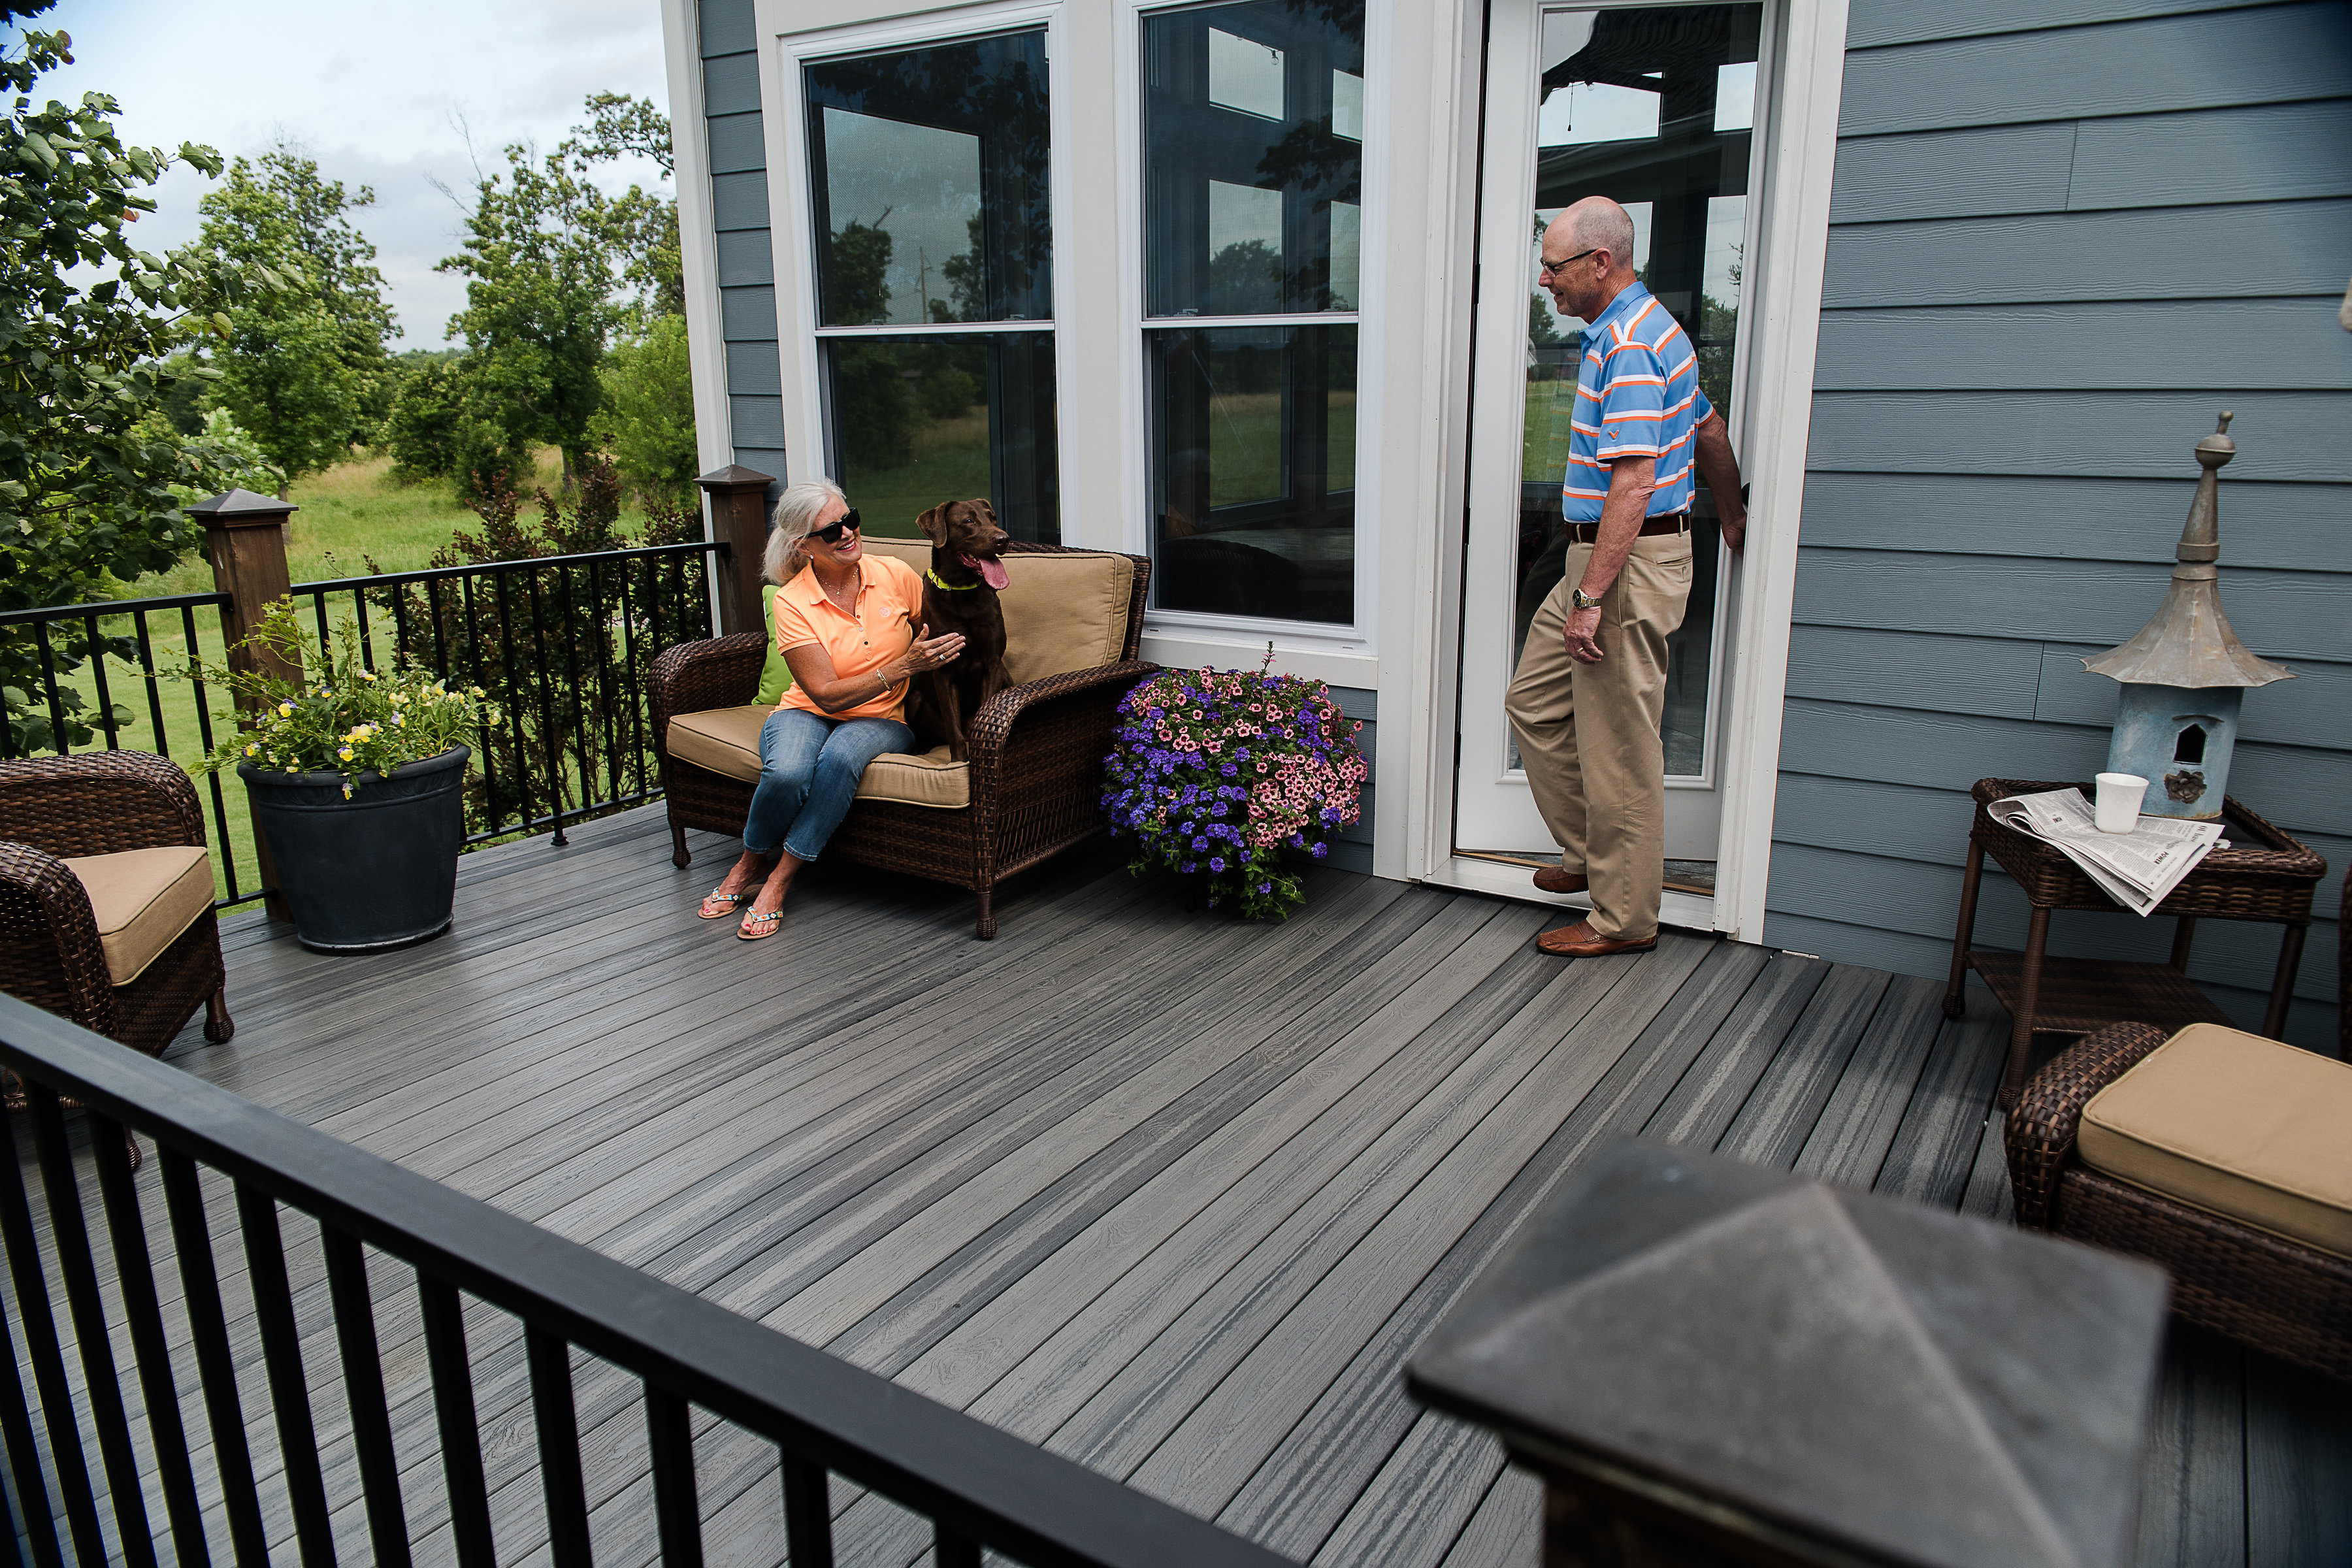
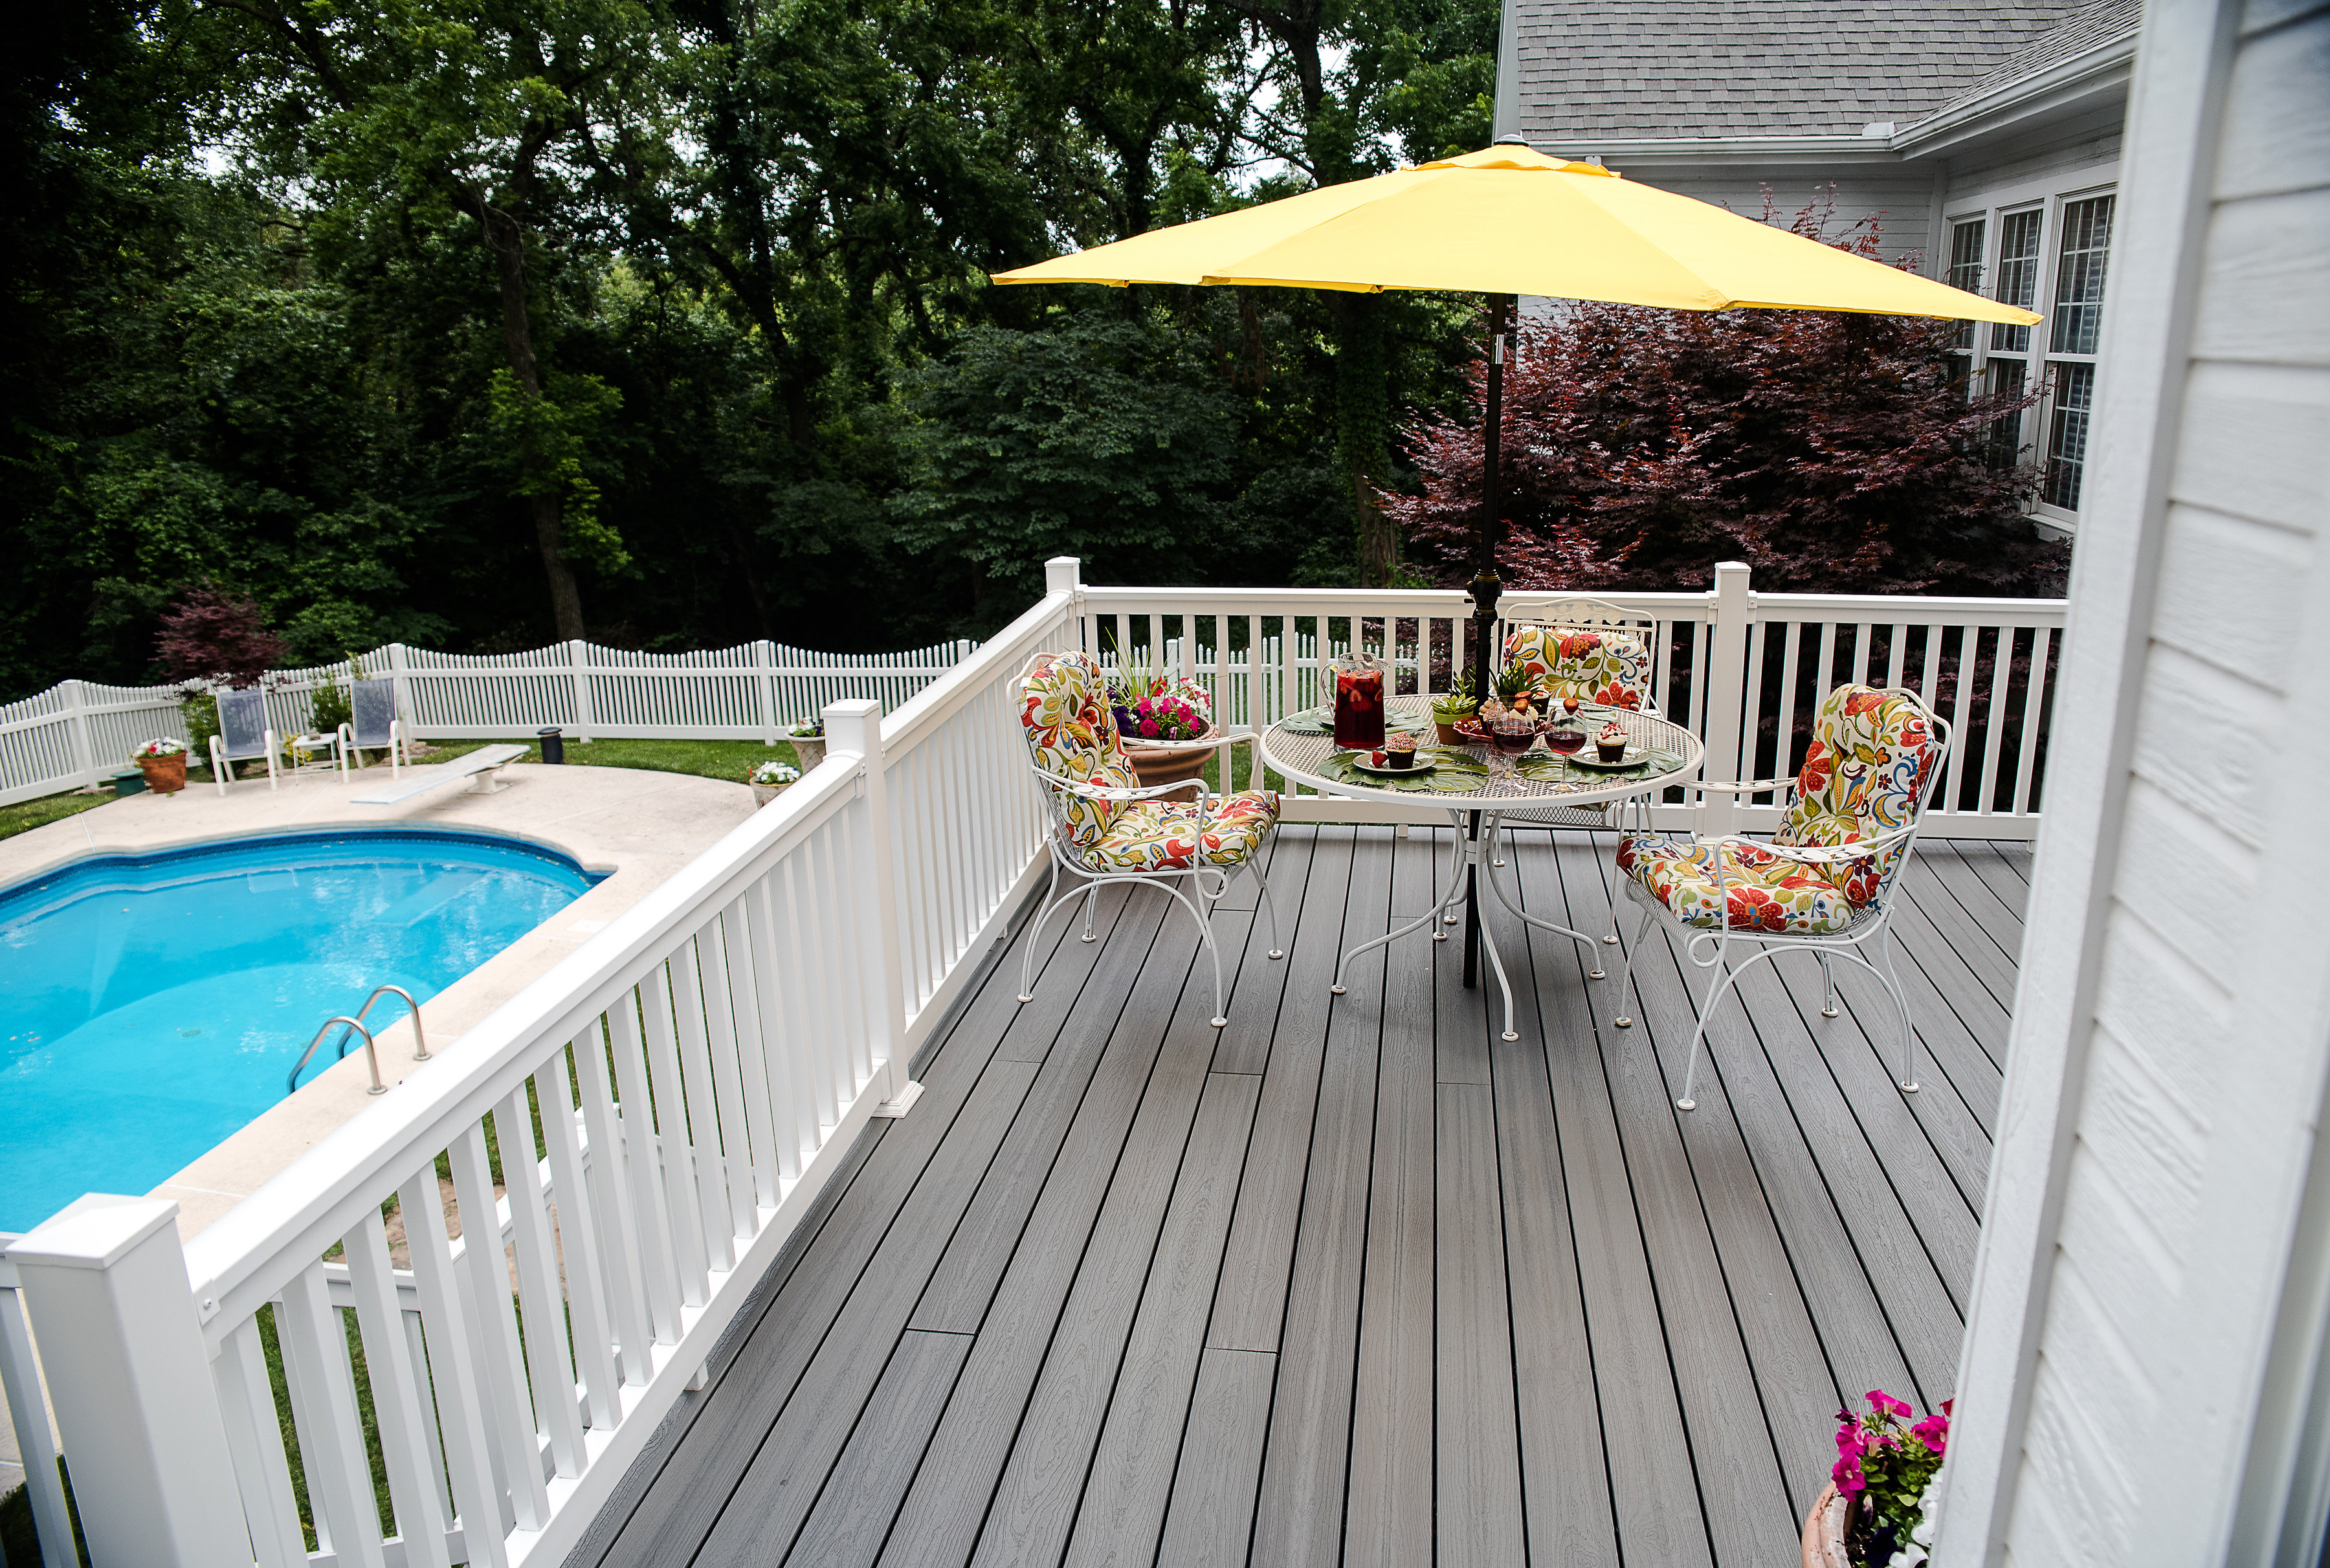
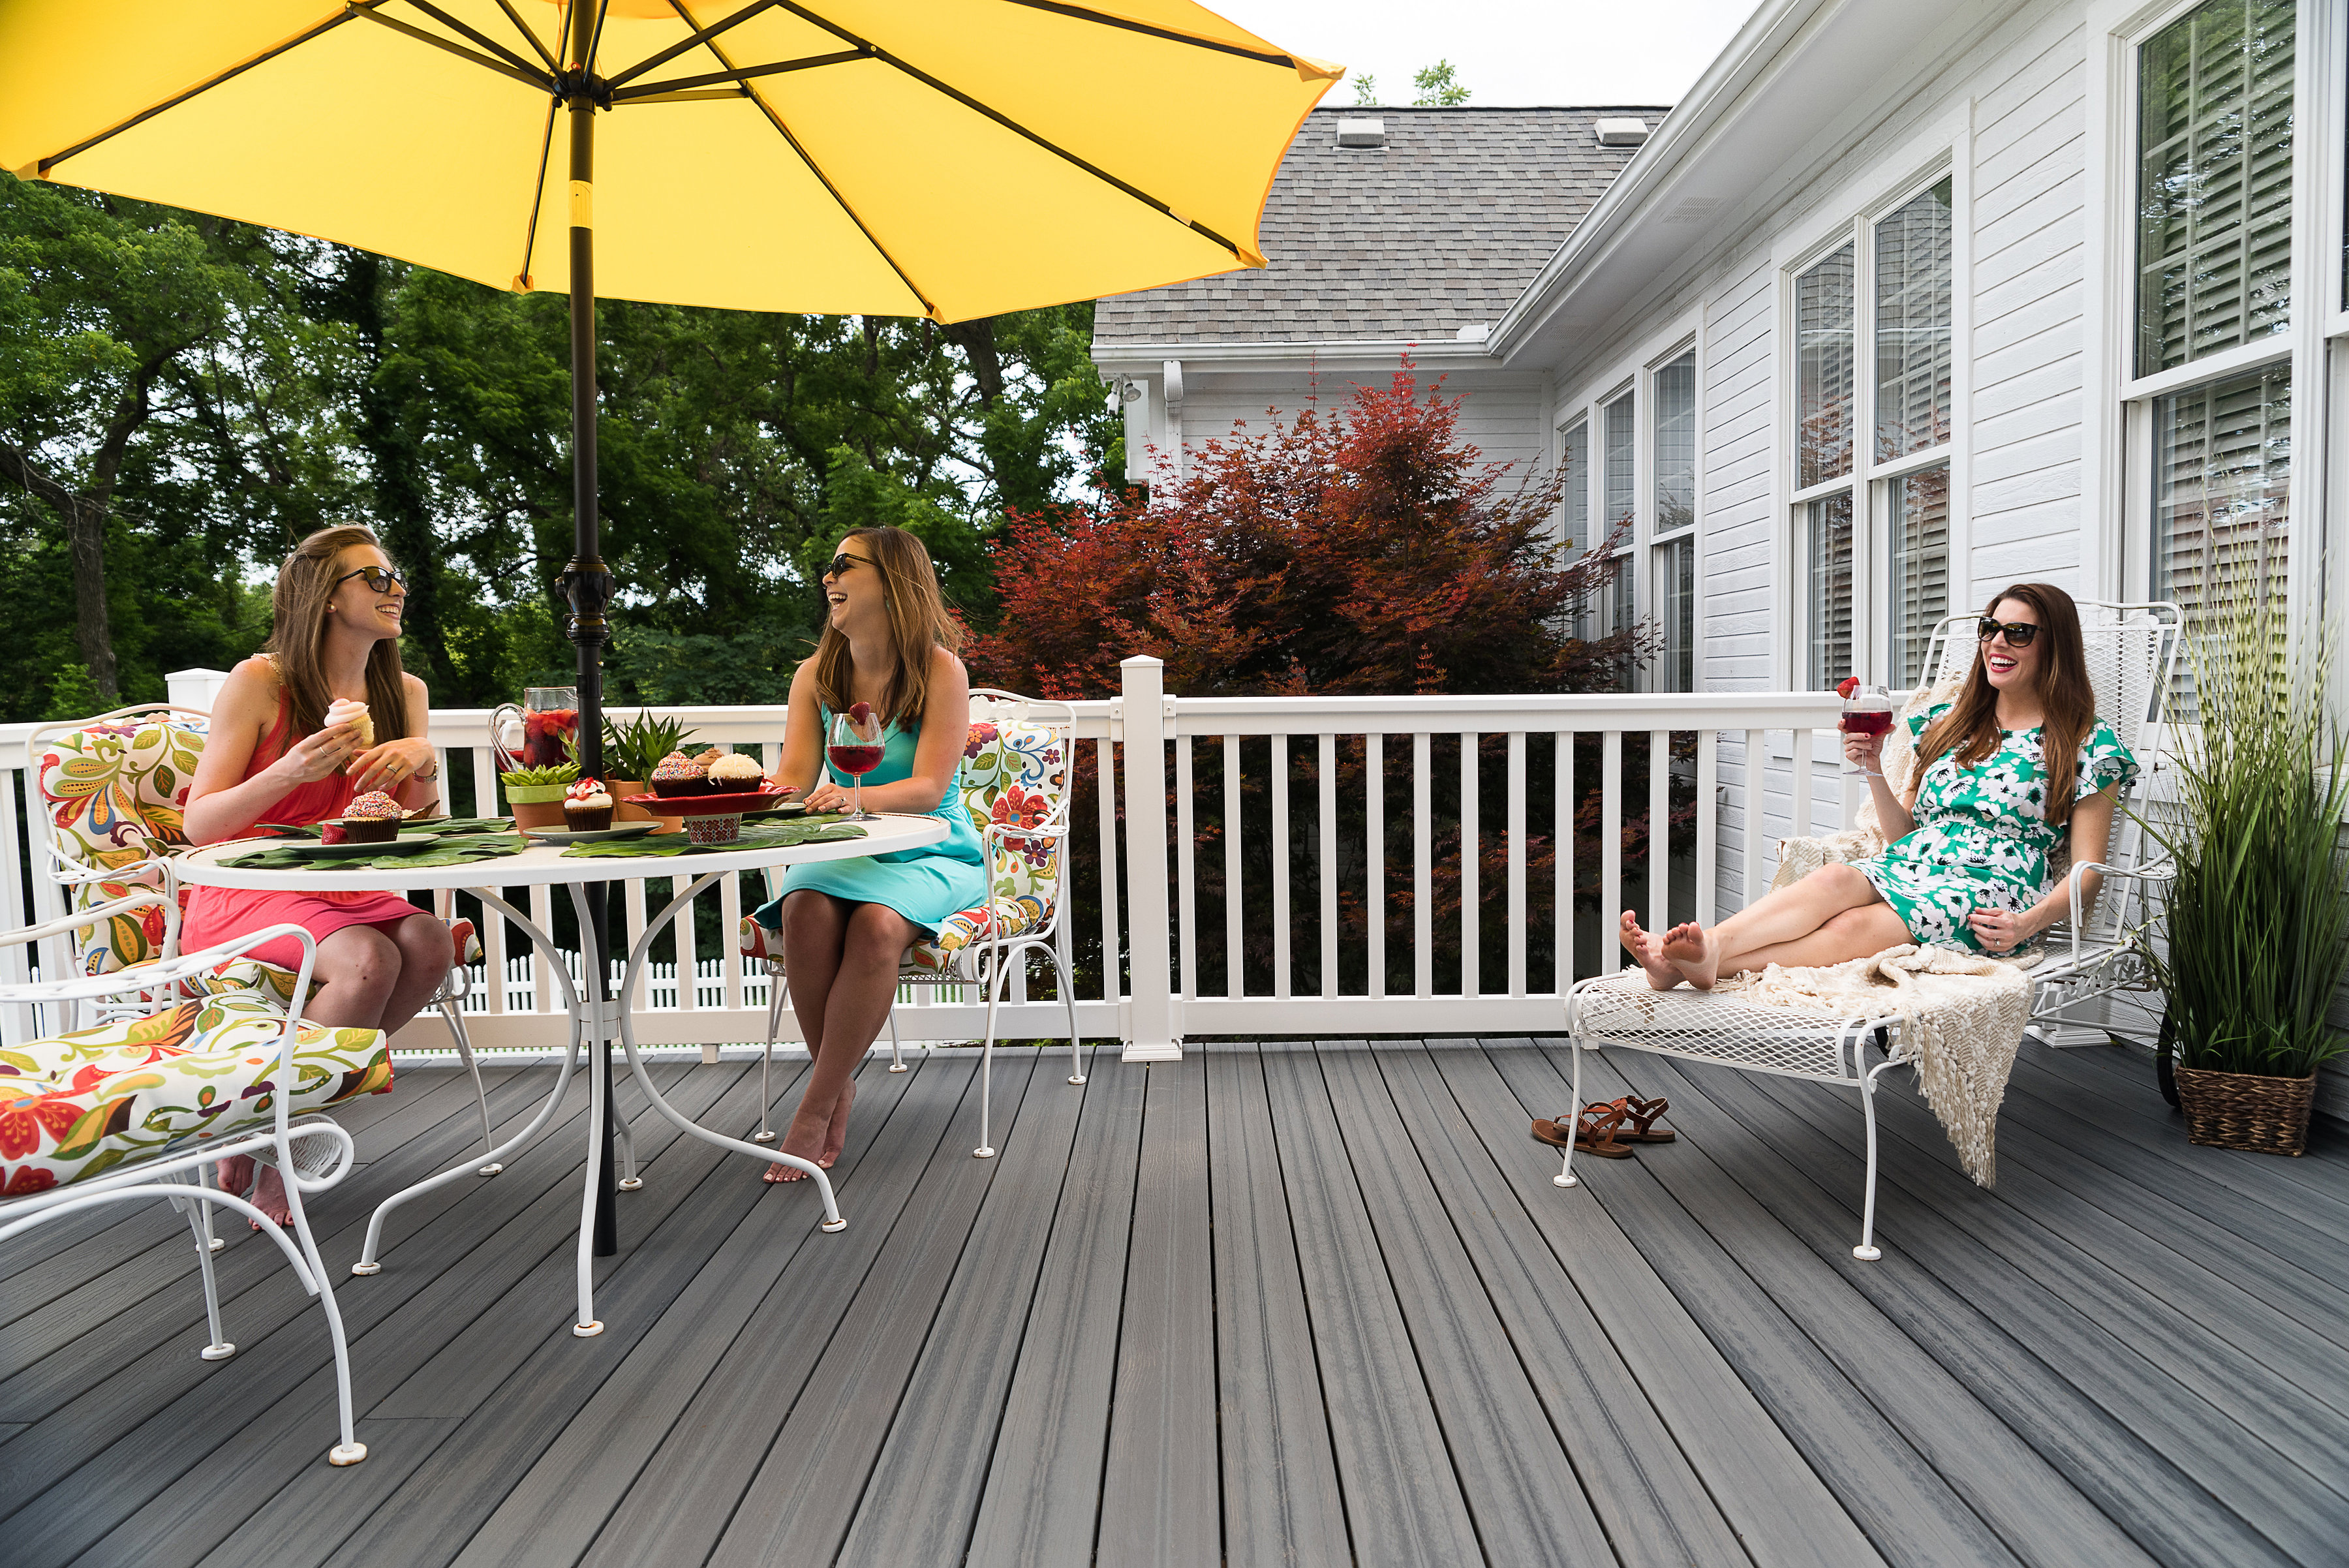
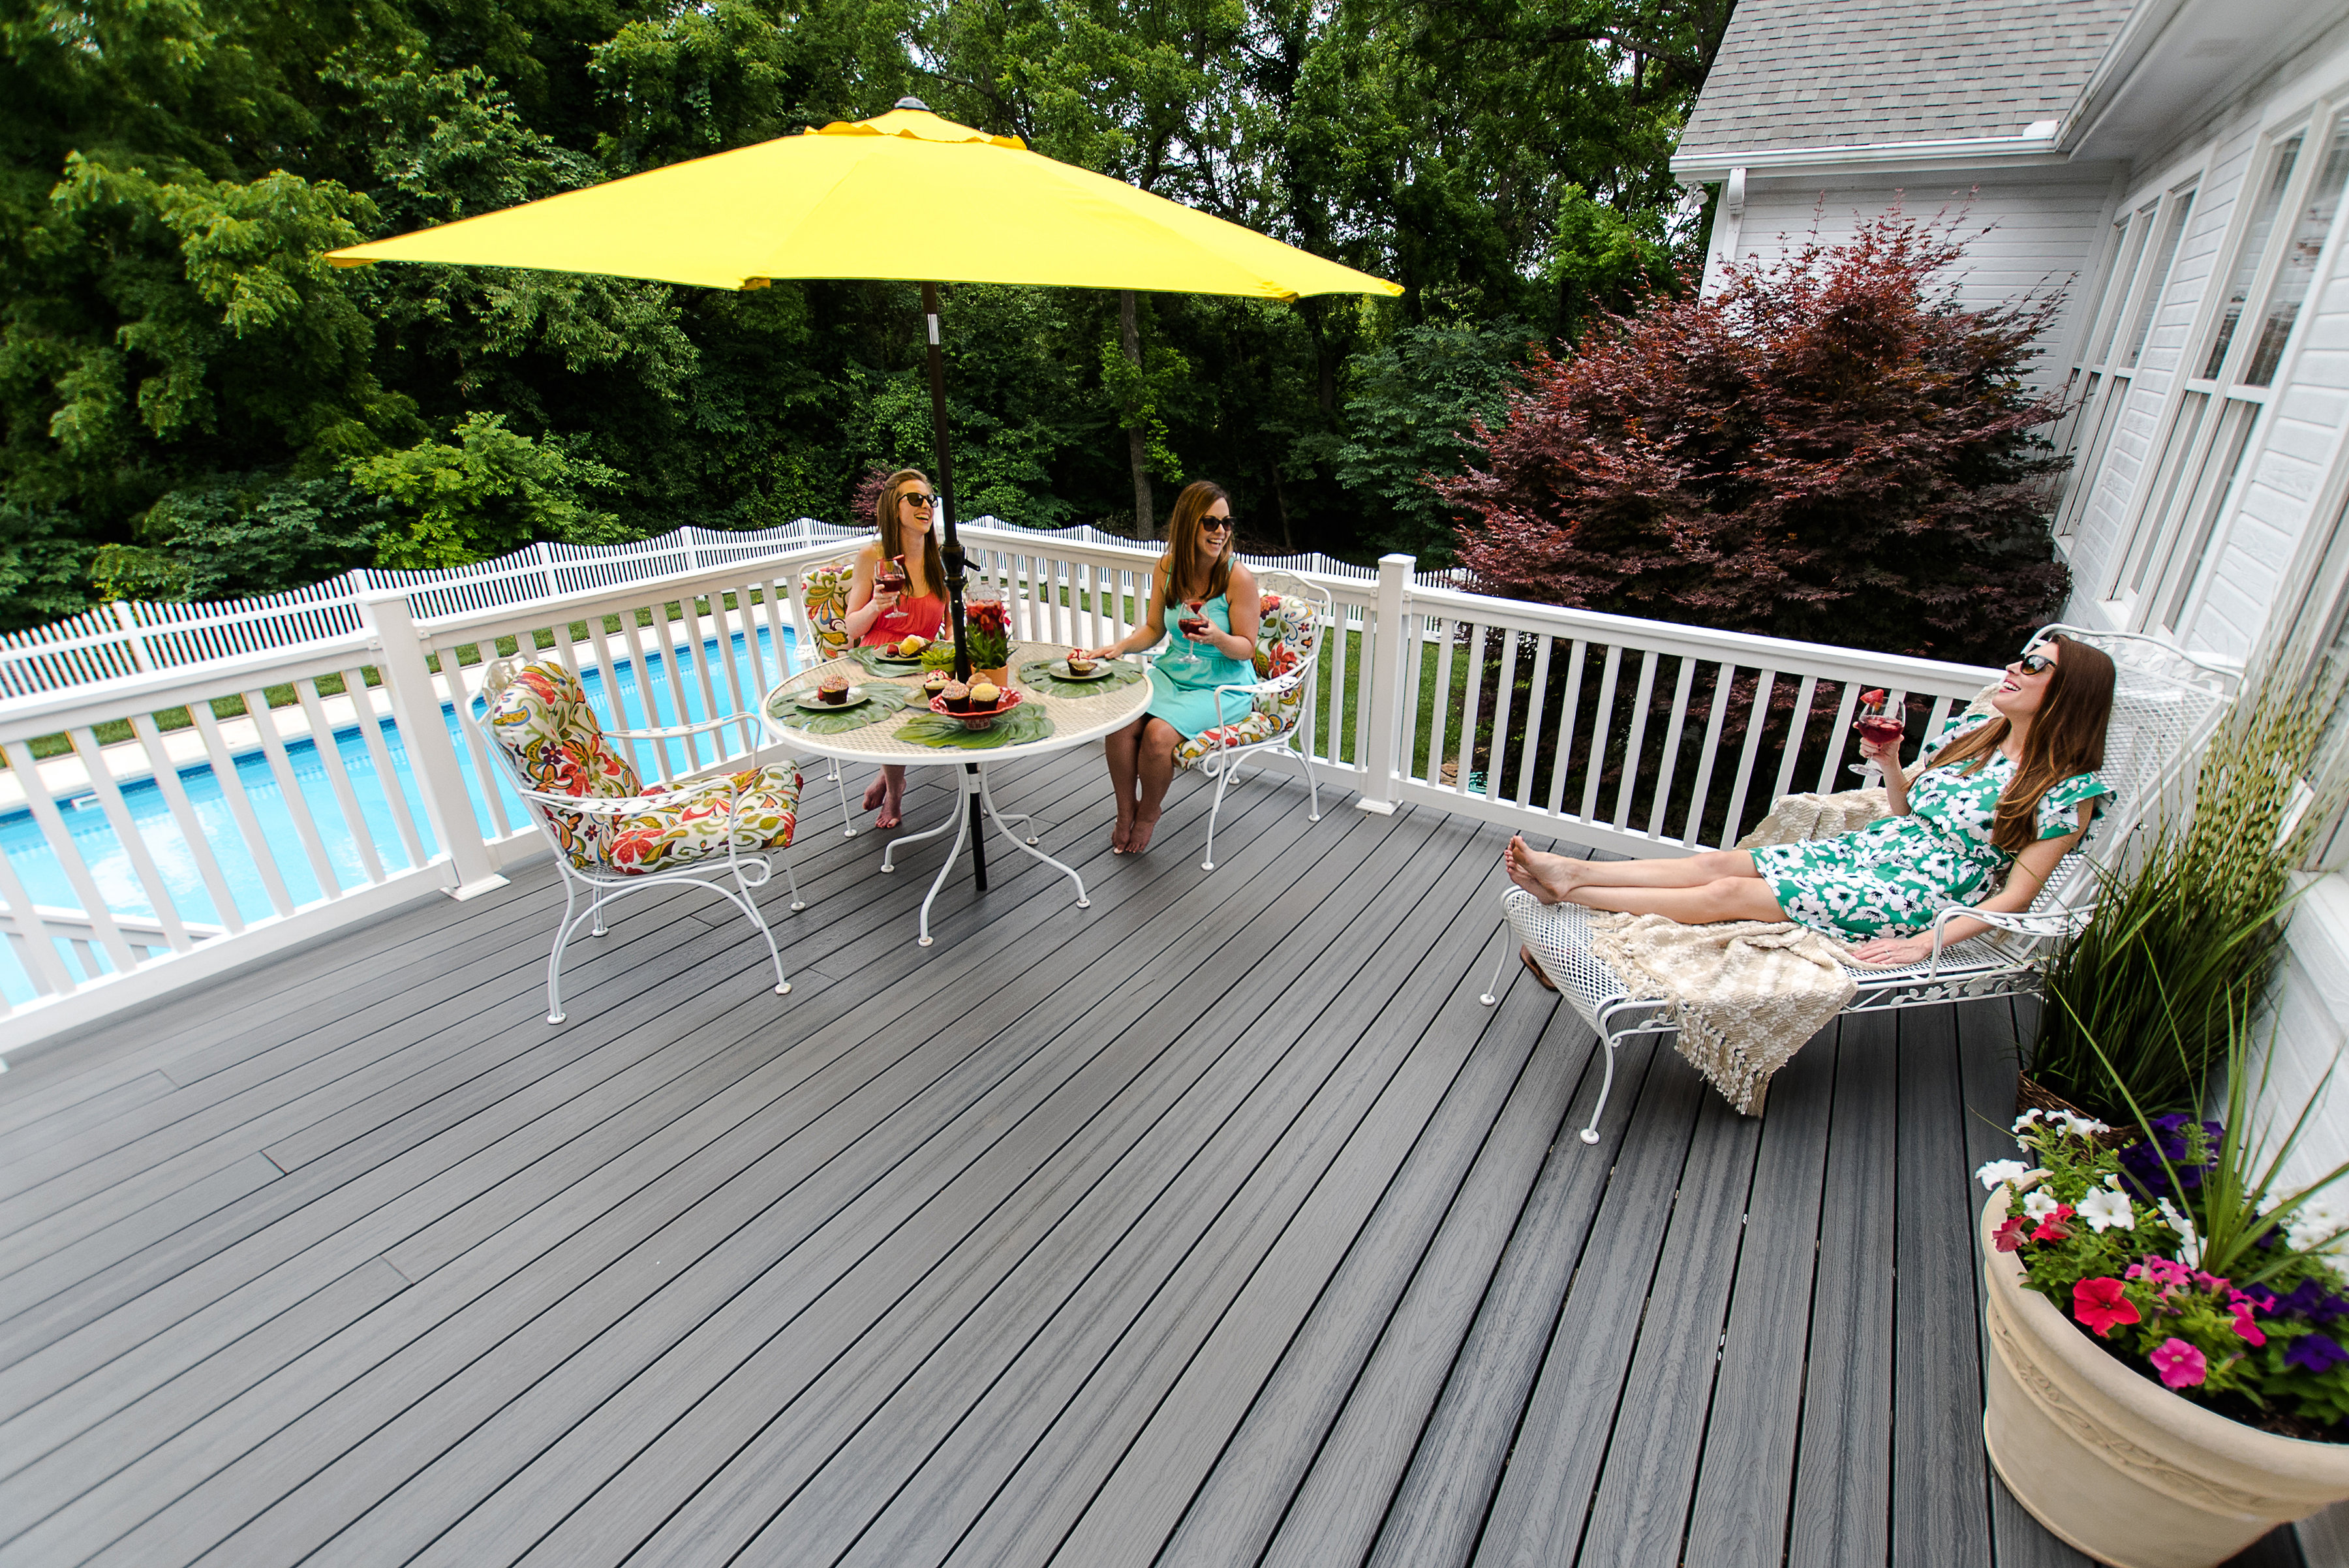
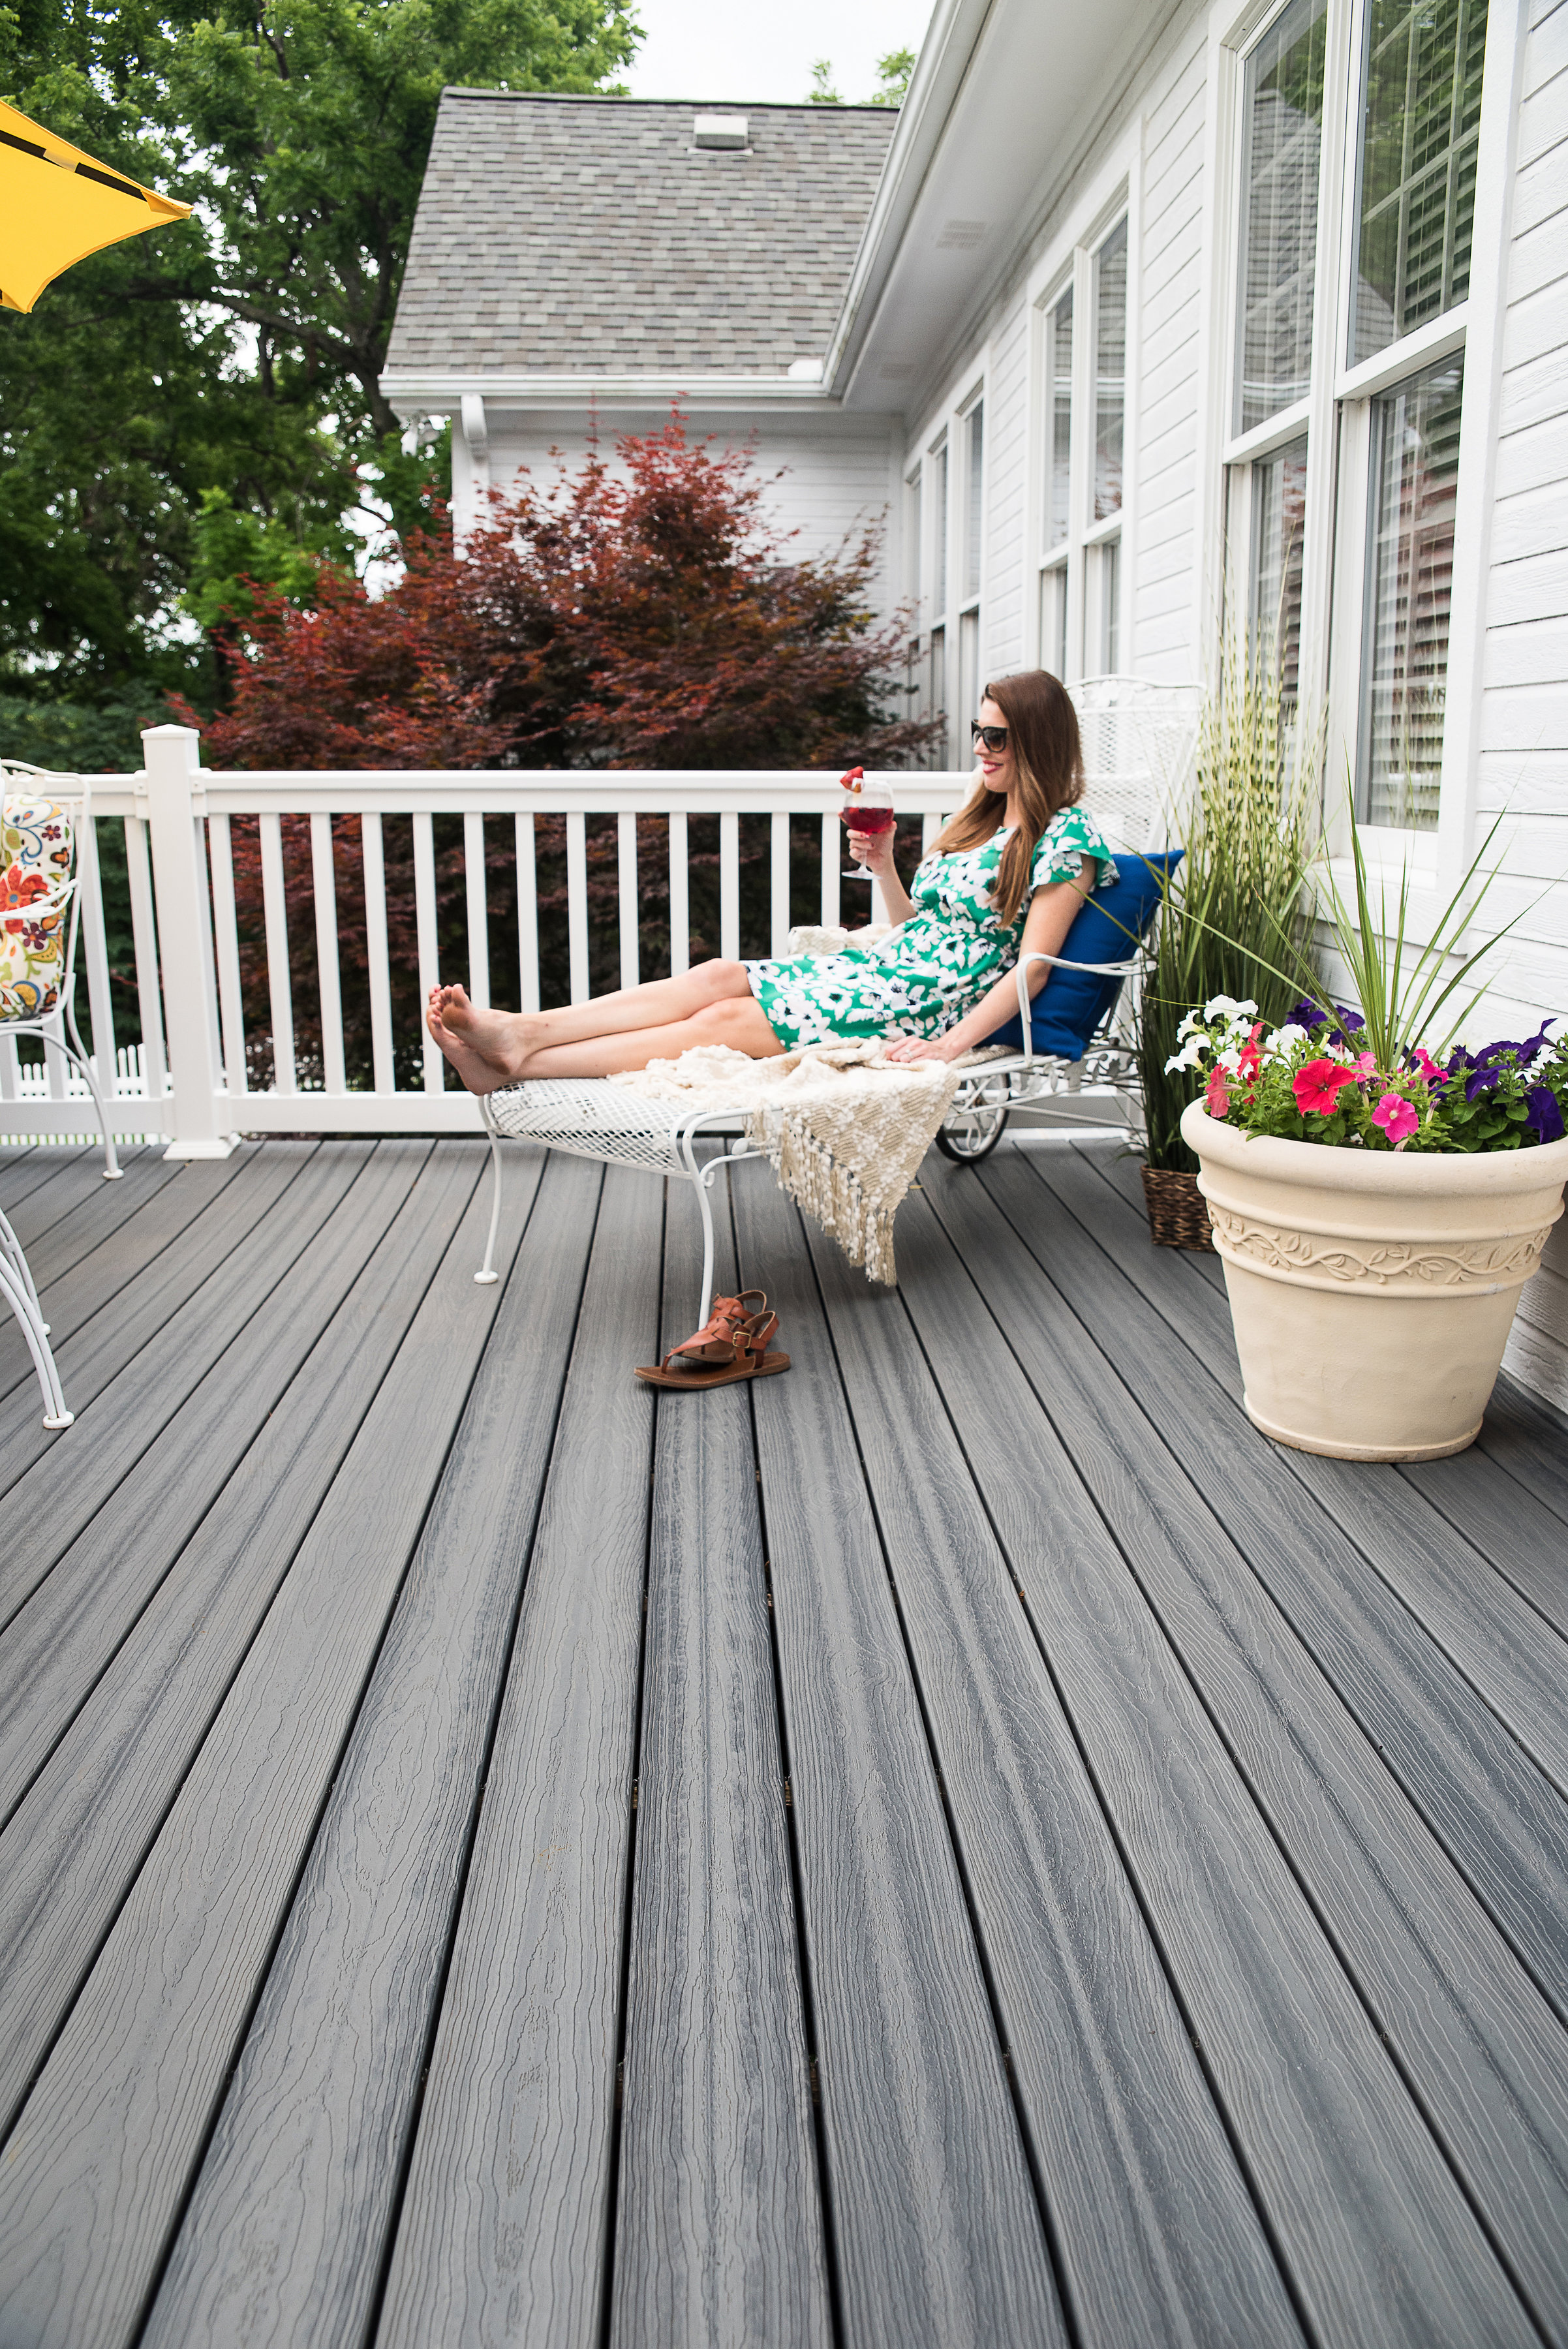
Once the final composite deck board is installed, all that’s left is to clean up and round out the space with décor.
Bring Your Dream Deck to Life with Envision Outdoor Living Products
We’re dedicated to helping you create an outdoor living space that’s Designed for Style and Built for Performance. If you have a DIY deck building project coming up, our team can help. Head over to our idea gallery for inspiration or find a dealer near you that offers the Envision products you need to build an amazing deck.